

Whether you are an arts and crafts pro or you are looking for a simple project that you can successfully complete with minimal artistic skill, you can’t go wrong with stencils. From t-shirts and tote bags to furniture and even the walls in your home, you can customize just about anything imaginable using stencils. And the best part about using stencils? You don’t have to be great at drawing or painting to make beautiful projects.
There are several types of stencils on the market. Make a quick trip to your favorite craft store, and you will find hard plastic stencils for drawing as well as ones made from more flexible plastic or even cardboard for painting. If you have access to a vinyl cutter, you can even create your own stencils that work perfectly for any type of project.
When it comes to stenciling, your only limit is your own imagination. Whether you are looking to spruce up your own home or you want to make quick and easy gifts, here are a few of our favorite ways to craft with stencils.
1. Make Custom T-Shirts
With a stencil and some fabric paint, you can transform any plain t-shirt into a one-of-a-kind work of art. This project is easy enough for the entire family, and making custom kids’ t-shirts is a fun craft for kids of all ages. To get started, all you need is a cotton t-shirt (or several), a stencil, fabric craft paint, a foam pouncer and removable spray adhesive.
Lay a shirt out flat and smooth out any wrinkles. If the material is thin, place a piece of wax paper inside to prevent the paint from bleeding through. Next, spray a bit of adhesive on the back of your stencil. This helps keep it in place and ensures neater lines. Arrange the stencil however you would like. Using a foam pouncer tool, carefully apply paint over the stencil. For best results, start at the edge of the stencil and work your way in toward the middle. This helps prevent paint from being pushed under the stencil.
When you’re finished, carefully remove the stencil. Let dry and your new shirt is ready to go! Prior to laundering, read the instructions on your fabric paint to avoid ruining your new work of art in the wash.
2. Spruce Up Old Furniture
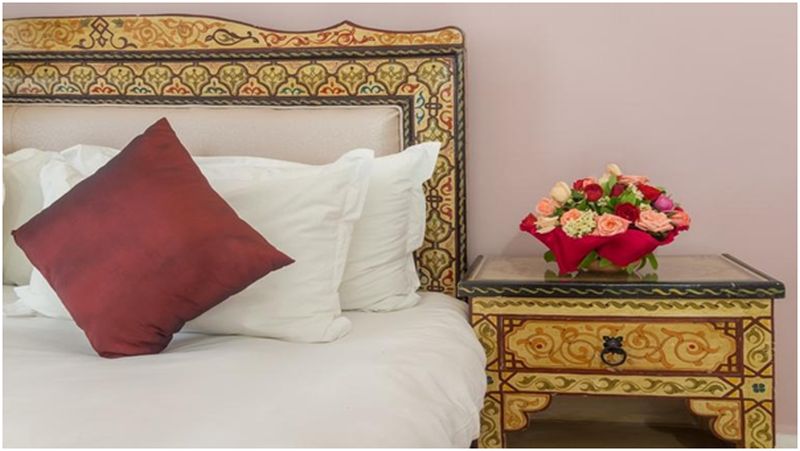
Rather than replacing the old, outdated furniture in your home, why not give it a facelift? Or if you don’t have any pieces that are in need of sprucing up, you can find dirt-cheap older wood furniture at thrift stores and secondhand shops. Things like dining chairs, headboards, dressers and coffee tables are easy to revamp. Wood furniture works best for this, but you can also stencil directly on furniture made from particleboard and similar materials.
If you are working with real wood, you will need to sand it down before you start. Doing so by hand is pretty labor-intensive, but a palm sander makes the job much easier. Use a coarse grit to strip away any existing paint, varnish, etc. and then use a finer grit to smooth out the surface.
Next, apply a base coat of paint and let dry. You may need to apply additional coats depending on the type of paint and the color.
Once the base coat(s) has/have dried completely, it is time to apply your stencil. Spray a removable adhesive on the back and stick in place on your furniture. You can paint the design using a foam pouncer, roller or a paintbrush. Use whatever you are most comfortable with and works best for your project. Always start at the edges of your stencil and work your way inward.
For most furniture painting projects, you will want to use an oil-based paint. When you’re done painting, carefully remove the stencil and let dry. After the design is completely dry, add a clear coat to help protect your design.
If you are painting on furniture made from particleboard or a similar material (the type of furniture you buy at a place like IKEA), skip the sanding step. Instead, just make sure the surface is clean before you start painting.
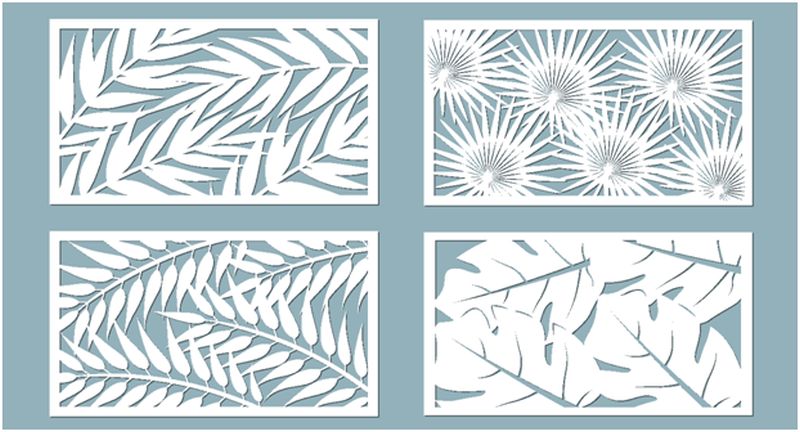
3. Upgrade Your Walls
Plain walls are a bore, but wallpaper is a pain to work with. When you want to create a fun, eye-catching design without dealing with the hassle of wallpaper, stenciling is the way to go. There is no limit to what you can do with stencils. You can create wallpaper-like designs that cover an entire wall, you can paint on a border or you can even design a mural. The sky is the limit!
When you’ve settled on a design, clean your walls thoroughly. This is especially important if you are working in the kitchen as there could be an invisible layer of grease that would prevent your paint from sticking like it should. Stick your stencil to the wall using removable adhesive. Since you’ll likely be using the same stencil several times to complete the design, you’ll want to make sure that the adhesive you use peels off easily without damaging your wall.
Carefully stencil your design using acrylic paint. Be sure to not apply too thickly to avoid drips and runs. Remove your stencil and repeat the steps listed above until your wall is finished. Let dry completely.
Conclusion
Crafting with stencils is a fun and easy way to create unique gifts or give your home an upgrade. You can stencil on fabric, wood, walls and just about any other type of surface you can imagine. Just remember to use the correct type of paint for your application to ensure the best results. Stencils are a great way to let your imagination run wild. The ideas listed above are just a couple of the many projects you can tackle with a stencil and a little bit of fabric paint!
Article Submitted By Community Writer

