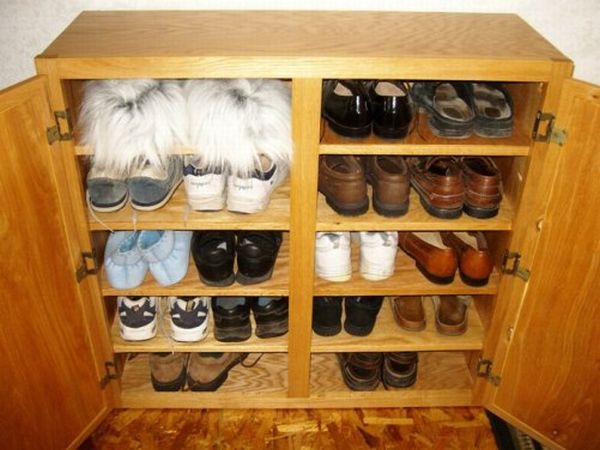
We all are aware that houses now-a-days need to be stocked with our priority things of use. Everybody wants their house looks neat and clean with well-organized cupboards for their clothes, modular kitchens to take care of their costly cookware and appliances, showcases for their decorative and antique pieces, and cabinets for arranging their books and magazines. But, how does it feel when your living room or bedroom have your favorite pairs of shoes or footwear spread all across, with layers of mud deposited on them? Nobody would like to step into those dirty shoes, but it is no fun spending hours on the cleaning procedure too. In addition to that, it is painful to see your favorite things remaining dumped in a scattered manner and then being thrown if they get dampened in the rainy season or start stinking. So, why not find out a solution that treats the root of the problem itself!
It’s better to start, organizing your footwear in a stylish manner, even while you may not have a lot of space to accommodate them in your cabinet. Bear in mind that there needs to be a breathing space because your shoes exclusively deserve this. You can do this by adopting the least expensive option of creating your own wooden shoe rack and arrange them in!
Difficulty level: Moderate (even if the idea may sound too difficult!)
Time required: Variable (from one individual to another)
Things needed to build your shoe rack:
- Two 4-foot long 1×4-inch boards
- Circular saw
- Screwdriver
- Wood screws
- One 8-foot 1×12-inch plank
- Finishing nails
- Hammer
- One 8-foot long quarter round trim
Caution:You need to be perfectly careful, at the time of building the shoe rack. While building your shoe rack, take care when you use materials like hammer, screws, saw and other similar items. These may hurt you and can cause serious injuries.
How to build your own shoe rack:
1. Using the circular saw, cut four 40-inch-long pieces of 1×4 board.
2. After that, use the saw in order to cut two 30-inch-long pieces of 1×4 board.
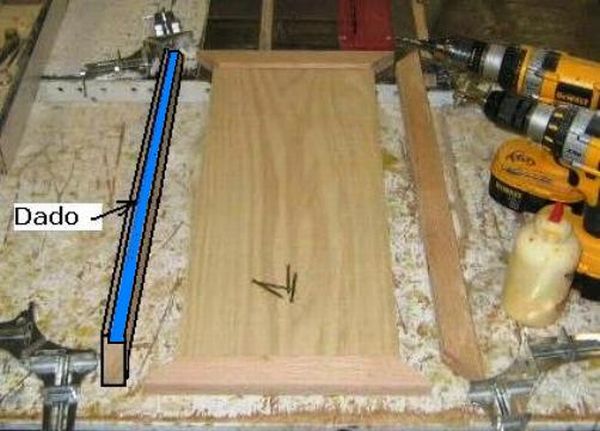
3. Now take a 30-inch piece as the base and using wood screws, screw it together with a 40-inch piece to form an L-shape.

4. Now, onto the same 30-inch piece as the base, you have to screw another 40-inch piece, so that it is in parallel and 24 inches away from the first 40-inch piece that was attached in Step 2. This creates an assembly.
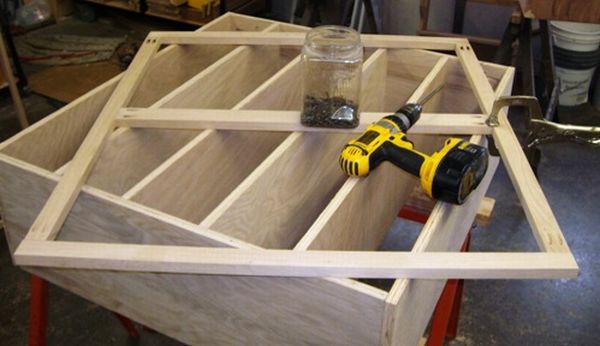
5. You have to repeat steps 2-4 to form another similar assembly. So, when you hold both assemblies next to each other, 40-inch pieces show inside and 30-inch pieces show on the outside.
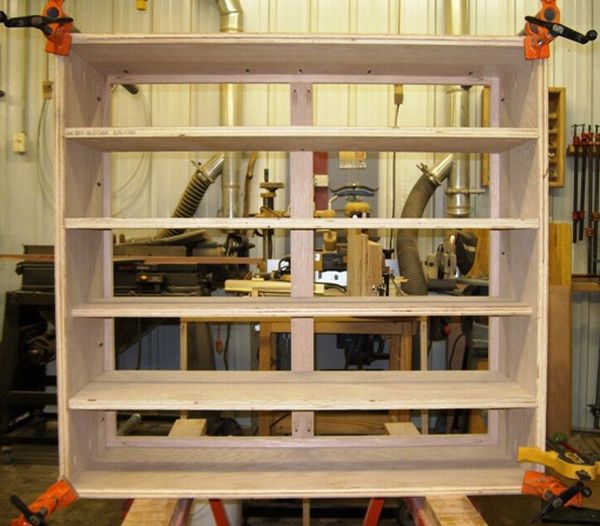
6. Now, cut three 30-inch-long pieces of 1×12 board planks. It’s time to nail these planks in between the previously created two assemblies. Nail them as creating shelves with the use of finishing nails. In a vertical manner, place shelves with 18-inch spacing. Then, fix each shelf’s rear side two inches higher than the front side.

7. At the final stage, use the finishing nails in order to nail the quarter round trim’s strips onto the front top edge of each shelf. And there, put up your smart wooden shoe rack that will stock all your footwear storage worries!


