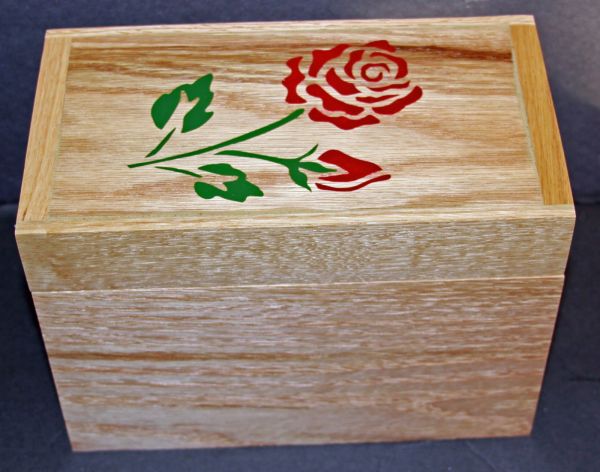
The project: All of us are not mechanical geniuses, agreed. But, there are several opportunities in every house to fix something or the other. Why scramble for tools at such moments when you can make your own toolbox? Yes, a tool box designed by you to keep all your basic tools handy! After all, a tool box is the first requirement for all the DIY (do it yourself) adventures of life.
Difficulty level: Easy to moderate (Lengthy, but easy)
Time required: An hour or two to put together the tool box and some more time for drying it
Resources required:
Supplies needed:
1. A 2 X 4 foot piece of 1/2 inch birch veneer plywood
2. Plastic jars (optional, for keeping nails and screws in one place)
3. 120-grit sandpaper
4. Stainable wood glue
5. Clean rag
6. 4d finish nails
7. Stainable wall putty
8. Water-based stain
9. Latex gloves
10. Hockey-stick tape
11. Nail-on furniture glides
Tools needed:
1.Tape measure
2. Hammerset and nailset
3. Combination square
4. Spring clamps
5. Jigsaw/Circular saw/handsaw
6. Drill/driver with 3/2 inch drill bit and 1/2 and 1 inch spade bits
7. Safety glasses
8. Random orbit sander or sanding block
9. Bar clamps
10. Putty knife
11. Paintbrush
12. Straightedge saw guide
Instructions:
Step 1: Cut out the parts
Pin down the plywood on a sturdy surface with the help of spring or bar clamps. Place the plywood such that the part which is to be cut hangs mid air, not on the cutting surface. Using the jigsaw, handsaw, or the circular saw, cut out pieces from the plywood; you will use these later to make the toolbox. For ensuring accuracy, you can attach a straightedge saw guide to the saw you are using.
Step 2: Lay out the handle grips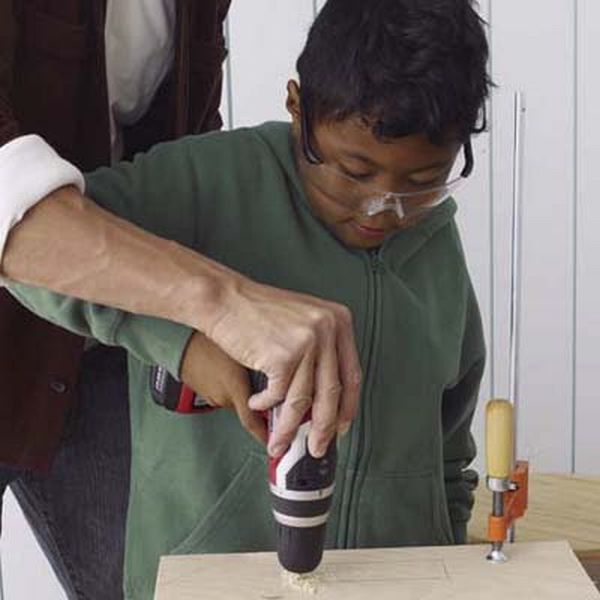
Take a combination square and lay out a 5 X 1/12 inch rectangle near the top of the handle. This is where you will be making the grip of your box, so lay the rectangle at the center. Now make the handles. For this, mark the top of the handle 1 and 1/2 inches from each side of the grip, and 5 inches from the bottom. Draw a line that runs diagonally between these points on either side of the grip. Place the handle piece on a sturdy cutting surface again, and take a drill/driver and make holes in all the corners of the rectangle. Take care not to cut outside the drawn lines. You will have to insert the jigsaw blade in these holes later to cut the handle grip.
Step 3: Cut the handle grip: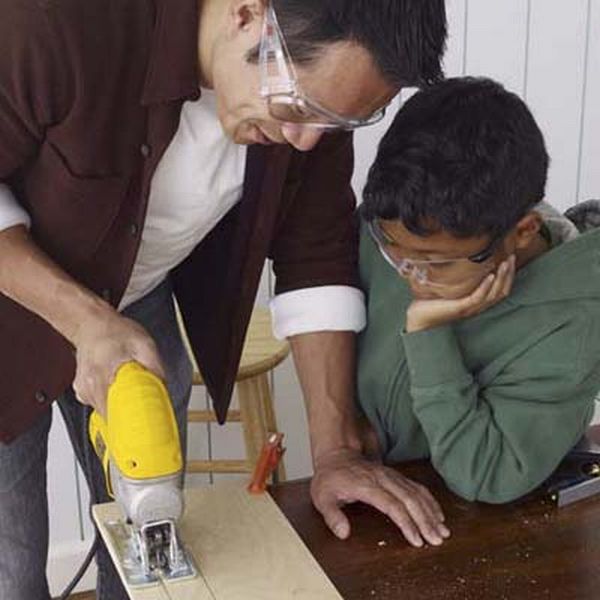
Hold the jigsaw over the handle piece such that each of its blade is inserted in each of the holes on the piece. Carefully cut along the layout line till you reach the next point. Stop and turn the saw so that it faces the next line and cut through the layout line again. Keep cutting until the center portion is removed from the piece. Later, cut off each angled side with the jigsaw.
Step 4: Drill the tool holder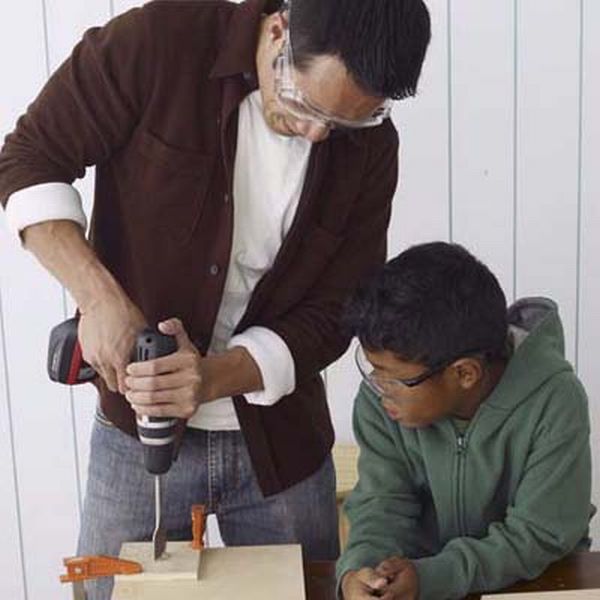
Place the tool holder firmly atop the cutting piece. Using 1/2 and 1 inch spade bits, drill holes in the square to make an X.
Step 5: Sand each piece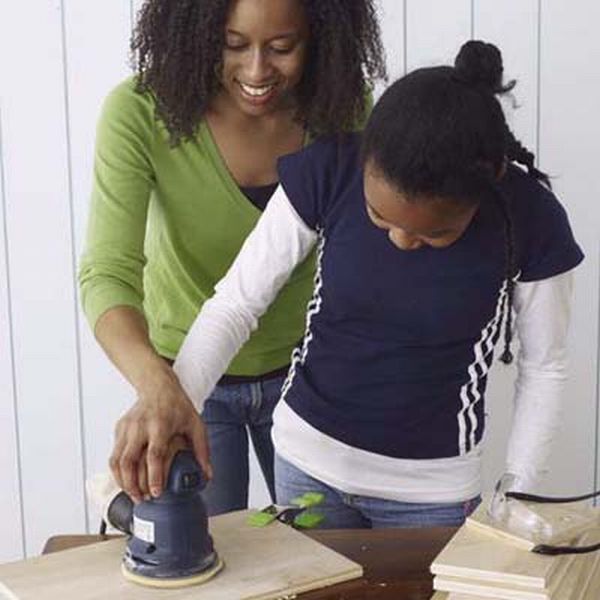
For a toolbox with smooth surfaces, sand the surfaces with a random-orbit sander and 120-grit sandpaper. This will also eliminate any splinters (take care to fit the dust bag to the back of the sander). If you want, you can smooth the edges, too. But, be careful to not make them round, for otherwise, it would not be a box anymore.
Step 6: Glue and assemble the pieces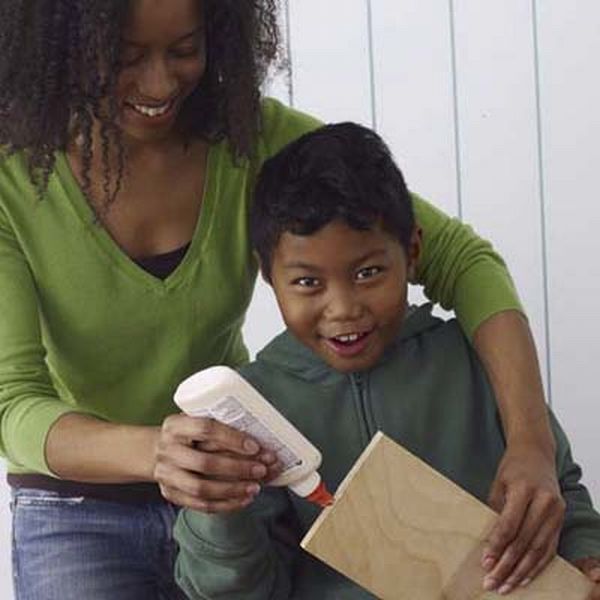
Apply the glue to the short ends of the long side pieces. Stick the small sides over these. Clamp the box together and wipe off the excess glue.
Step 7: Nail the box together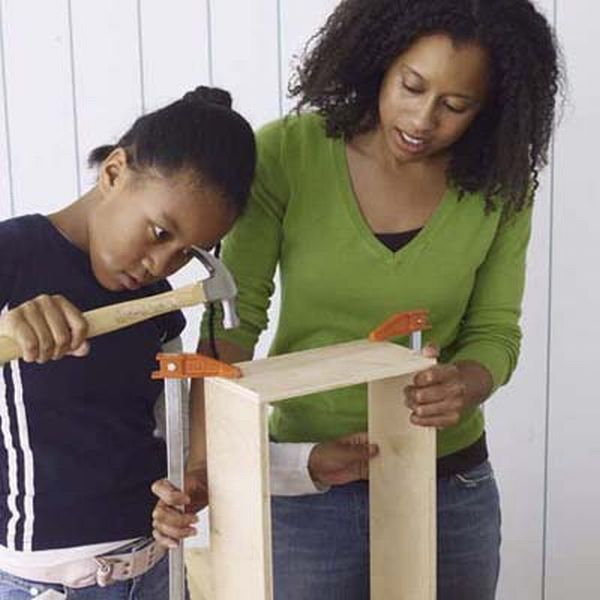
With a hammer, fix the 4d nails at the corners, driving them through small sides into the long ones. Hammer 4 nails into each of the 4 corners. Remove the clamp. Using glue, stick the bottom piece over the sides and then nail it with 4d nails. Stick and nail the tool holder to the side of the handle now. Apply glue to the side edges and the outer surface of the tool holder and place the whole unit inside the toolbox. Now nail every part in the place. Use a nailset and settle all nails properly into the box and apply sustainable wall putty. Sand the box after it dries.
Step 8: Apply the stain
Wear latex gloves. Take a 2 inch paintbrush, apply stain on the wooden surface of the box, and later, clean it with a rag.� Let it dry (it will get darker if you let it sit for more time).
Step 9: Put on the finishing touches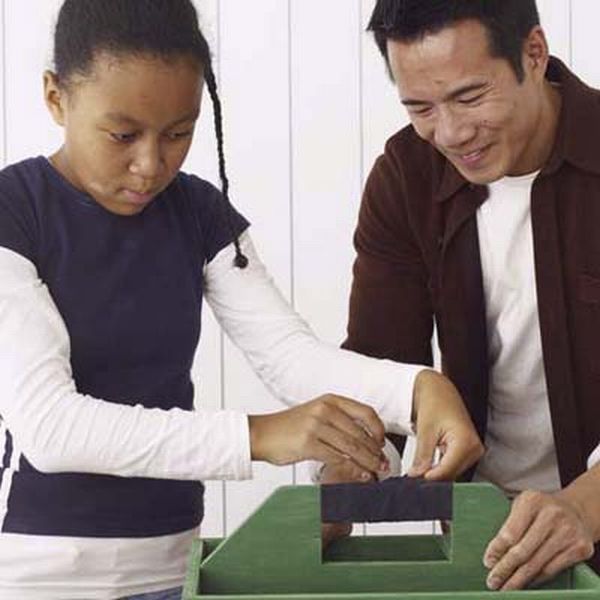
Cut out a few strips of hockey-stick tape and cover the handle with these for a softer grip. You can also attach furniture glides to the bottom of the box to prevent it from scratching surfaces. Now, your tools are ready to enter their brand new case!
Things to watch out for:
Put on a pair of safety glasses (for both grown-ups and children) before using the jigsaw or circular saw. Make sure that some adult is around to guide and help the children while they are working with the saw and nails.


