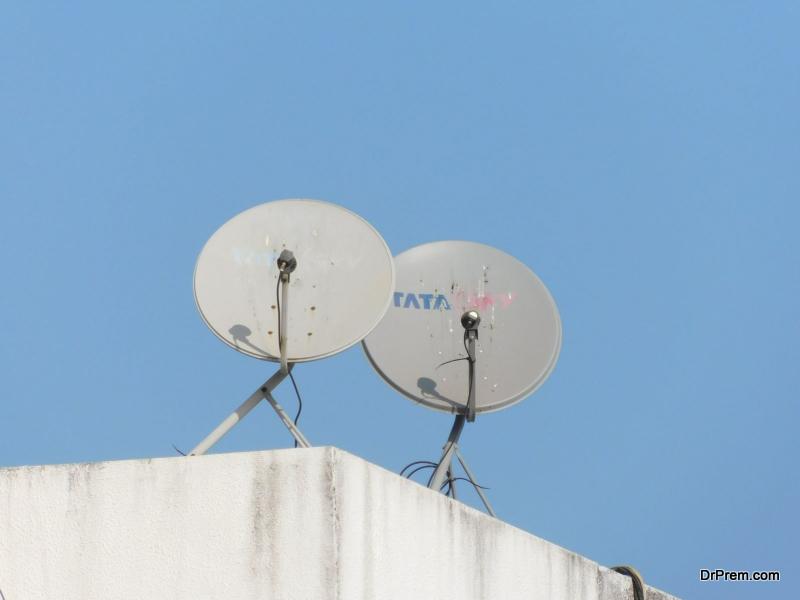
Installing a TV aerial in your home can be an empowering DIY project, offering a fulfilling sense of achievement alongside the practical benefit of enhanced television reception. However, it’s essential to approach this task with due diligence and a comprehensive understanding of the steps involved. This guide is designed to equip homeowners with the knowledge needed for a smooth and successful DIY TV aerial installation, while also emphasising the value of engaging a professional aerial installer for optimal results.
Understanding the Basics of TV Aerial Installation
Before embarking on the installation process, it’s crucial to grasp the fundamentals of how TV aerials work and the variations in types and setups. A clear understanding will inform your decisions, ensuring you select the right aerial for your locale’s signal strength and quality.
Types of TV Aerials
Different aerials are suited to various signal strengths and geographical challenges. From loft aerials, which are ideal for areas with strong signals, to outdoor aerials that provide superior reception in locations with weaker signals, choosing the correct type is paramount.
Tools and Supplies Needed
A successful installation requires specific tools and materials, including the aerial itself, a mounting bracket, coaxial cable, cable clips, a drill, and safety equipment. Ensuring you have all necessary items before starting will prevent delays.
Assessing Your Home’s Location
The signal strength and available channels can vary significantly depending on your location. Utilise online resources or consult with local experts to determine the optimal direction for your aerial and the type best suited for your area.
Planning the Installation
Detailed planning is the foundation of a successful DIY installation. This involves selecting the right location for your aerial, gaining familiarity with your home’s layout to route the cabling, and understanding local building codes and regulations.
Choosing the Right Location
The positioning of your aerial is critical for optimal reception. Generally, the higher the installation, the better the signal. Clear line-of-sight towards the nearest transmitter and avoiding obstructions like tall buildings or trees can significantly improve reception quality.
Routing the Cabling
Consider the path your coaxial cable will take from the aerial to your TV. The goal is to minimise the cable’s length to reduce signal loss, while avoiding electrical wiring to prevent interference.
Compliance with Regulations
Familiarise yourself with any local regulations or requirements regarding aerial installation. This may include rules about aerial size, placement, and safety standards to ensure your installation is both legal and secure.
Performing the Installation
Once you’ve completed your planning and assembled your tools and materials, you’re ready to start the installation process. Here’s a step-by-step breakdown:
- Mounting the Aerial: Secure the mounting bracket in the chosen location, ensuring it’s firm and stable. Attach the aerial to the bracket according to the manufacturer’s instructions, adjusting the aerial’s direction towards the signal transmitter.
- Running the Coaxial Cable: Route the coaxial cable from the aerial to your TV, using cable clips to secure it along the way. Where possible, keep the cable’s path straight and avoid sharp bends.
- Grounding the Aerial: For outdoor installations, grounding the aerial can provide protection against electrical surges. This involves connecting a grounding wire from the aerial to your home’s grounding system.
- Connecting to Your TV: Once the aerial and cable are in place, connect the cable to your TV’s aerial input. Retune your TV to search for available channels.
- Testing and Troubleshooting: After installation, test the reception quality across different channels. If issues arise, re-adjust the aerial’s direction, check all connections, and ensure your TV is correctly tuned.
When to Consider Hiring a Professional Aerial Installer
Despite the satisfaction of completing a DIY project, there are circumstances where engaging a professional installer is advisable. Complex installations, safety concerns, and regulatory compliance are all factors that might necessitate professional expertise. A professional installer can also maximise your signal quality and channel availability, ensuring you get the most from your investment.
Conclusion
DIY TV aerial installation can be a rewarding project for homeowners looking to improve their television reception. By following this step-by-step guide and adhering to the recommended planning and execution strategies, you can achieve a successful installation. However, the value of professional aerial installers cannot be underestimated, especially for complex or high-risk installations. Whether you choose the DIY route or opt for professional assistance, the goal remains the same: to enhance your TV viewing experience by ensuring the best possible reception.
Article Submitted By Community Writer


