

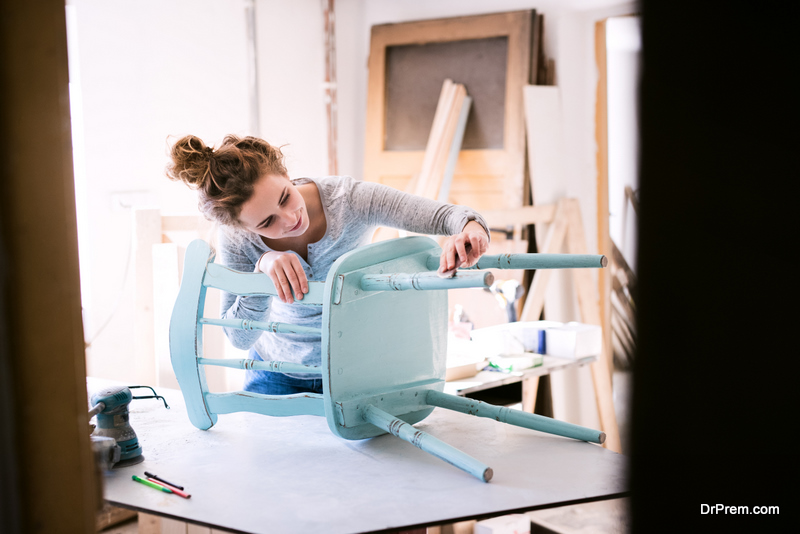
Rather than spending a whole month’s paycheque investing in brand new furniture when it is needed, many are turning to the idea of painting older items to achieve a more updated aesthetic. This is a wonderfully cost-effective way to optimise the overall look and value of your home without overspending or going beyond your household’s established monthly budget. If you’re looking to learn how to successfully redesign old furnishings in order to satisfy your inner interior designer, read on as we cover the basics in this insightful furniture painting guide.
1. Prep Adequately
Ensuring that you start off on the right foot is absolutely vital, as it sets the tone for how you are going to go about completing the following instructions. The most important part of this step stems from adequately cleaning the piece you’re working on beforehand, especially if it has been sitting around gathering dust. Utilise an effective oil soap and get scrubbing in order to provide the desired outcome.
2. The Sanding Process
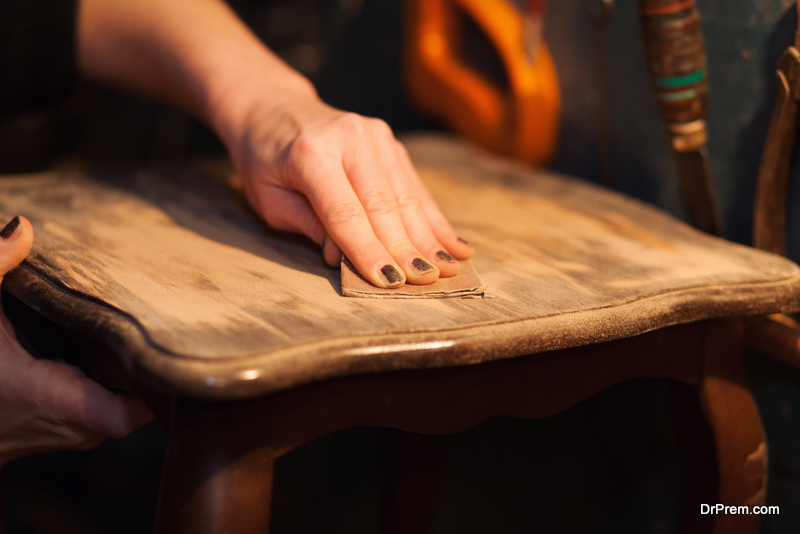
Sanding the furniture is next up on the roster! Prioritise a precise hand and take great care when sanding away the glossy veneer in order to give the paint a surface to really sink into. This produces real grit and texture in the piece, which is then smoothed over by painting on primer. Emphasising this part of the process is highly recommended by industry professionals. Investing in medium-grit sandpaper and focusing primarily on table tops and legs is a great place to start.
If this is unsuccessful, and it turns out it is beyond repair, however, don’t fret! You can find some attractive table tops and legs to replace your old ones, instantly upcycling your old furniture and giving it a new lease of life.
3. Priming
After the furniture piece has soaked up all the moisture and its surfaces are fully prepared, layer on some primer to achieve that real professional glow. This is particularly effective when it comes to wooden furniture, but it works just as well for a number of different materials, reusables included. This step should never be overlooked, as it will rid your furniture of old stains and any discoloration that may have developed over the years, providing consistent and professional coverage.
4. Resanding

Next, refer right back to your preferred sanding method, especially if you’re really looking to upgrade the quality of the furnishing in question. Using a fine-grit sandpaper, gently and lightly sand the item between every single coat of paint. Make sure that you are removing the excess dust – preferably with a clean cloth – periodically. Take your time with this step to ensure that you are making the most of the piece.
5. Break Out Your Paints
Once the furnishing has been carefully prepared and is fully developed, it’s time to break out the paint! Latex paint with a strong glossy finish is highly recommended when perusing which colourants to buy, as is avoiding those with a “flat finish.” This is because paints with a “flat finish” tend to leave behind fingerprints and are quite difficult to clean. Get to work layering on thin coats, and again, be sure to sand between each for an even result. Around two to three coats is ideal. Utilise a paint sprayer, a roller or a high- quality brush to achieve this.
Article Submitted By Community Writer

