


It’s always troublesome to find enough space to keep all your belongings organized. All the clothes, books, home accessories and other personal things need a huge amount of storage space and if you don’t have enough space then it just becomes a mess. There is one simple solution to add some extra storage space at your home, i.e. to install a few shelves in different locations. You can even make the shelves all by yourself. Here is the list of things you need to make shelves and some tips on how to install the shelves at your home.
Difficulty: Moderate
Things that you require:
- Sized boards
- Wall mounting brackets
- Screws (1.5″ to 2.0″ and 5″)
- Wood glue
- A stud-finder
- A carpenter’s level
- A correct measuring tape
- A drill (or screw driver)
- A pencil for marking
Procedure:
Step 1: Location of stud
The first thing you need to do is to take your stud finder and locate a stud. There’s a chance of collapsing (which can make permanent damage to your wall) if shelves are mounted on dry wall.

Step 2: Measure the stud
By using your measuring tape now you correctly measure the height of the stud.

Step 3: Mark the shelve
Then you have to screw the mounting bracket into the wall. To do this, first you mark the point with your pencil in the location you want to screw it then use your drill or screw driver and drive the screw on the stud.

Step 4: Making the shelve
After making your first set of brackets, now you need to do the second set. Check the length between the two brackets and place the shelf, then place the carpenter’s level on top. Adjust the height of the brackets because the shelf should be on the same level. Again make sure that you have mounted the second bracket on a stud.

Step 5: Making the shelve
After mounting the second set of brackets to the wall now you have to repeat the previous steps to make each pair of mounting brackets. Never use more than two or three brackets in a single shelf. But if the shelf is long, you can use more brackets than usual.

Step 6: Fasten the shelve
The last step, put the required amount of glue at the top of the brackets. Then join the shelf with it and hold it tight for at least 15 minutes. When you screw the mounts apply some pressure on it to make the shelf more permanent.

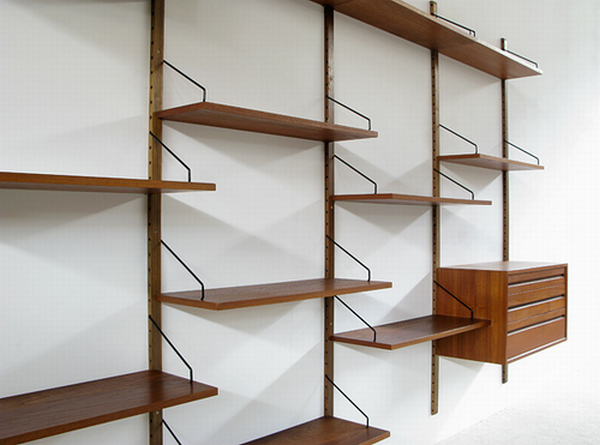
Step 7: Final image of the shelf
Your shelf is ready. You can make as many shelves as you want using this method. Now you have more than enough place to put your personal things in your room.

Word of caution:
- Always pay attention to your safety
- Wall-mounted shelves are not for mobile homes. The light weight walls of mobile homes can’t support the weight of these shelves.

