

Stucco is a totally awesome building material. It has a texture and style that is more unique than just about any other siding material out there, and can add a cool, Southwestern flair to your home.
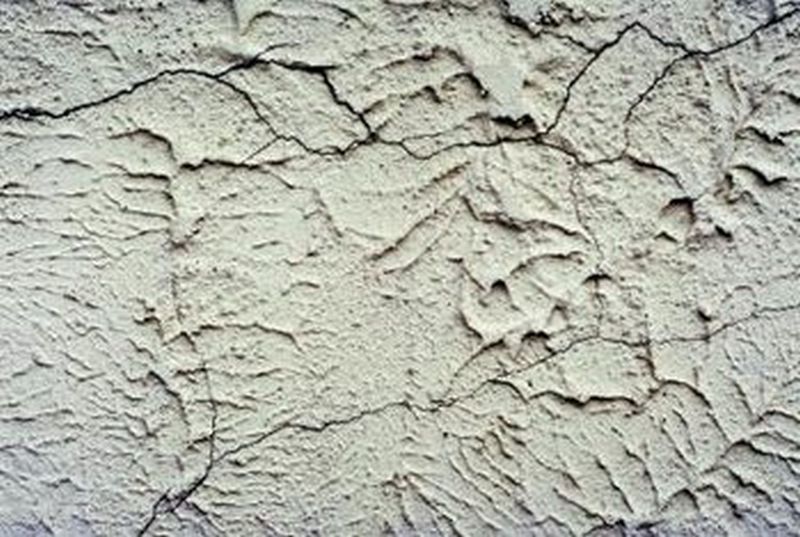
However, stucco can be a little bit more fragile than some other building materials, especially if you live in an area that tends to receive heavy rains. Over time, it’s not uncommon for small chunks of stucco to come off of your window coverings and other parts of your house. This can lead to a pockmarked appearance, and a risk of some structural damage to exposed areas of your home.
Never fear, however! Despite its complex appearance, stucco is rather easy to repair with some know-how, simple tools, and a little bit of time and elbow grease.
Break Off Excess Loose Stucco!

When repairing stucco, you want an even, workable surface. If your stucco is breaking off and you still have some hanging onto the affected area, use a hammer or a hammer and chisel to break off the excess (and remember to wear eye protection!). Be careful not to damage the wooden lath supports underneath.
Take It To The Edge!
Keep breaking off stucco until you reach the edges of the affected patch, and run into stucco that’s still adhering well to the wooden lath underneath. Once you’ve done so, discontinue the pounding – and break out the wire cutters.
Cut away any remaining metal mesh from underneath your stucco with wire cutters, and be thorough. You don’t want any hanging around to poke you or mess up your later application of builder’s paper and wire.
Paper It Up!
Use a utility knife to trim up some builder’s paper – Grade D is best – and fit it tightly to the boundary where your intact stucco meets your exposed wooden lath. Use roofing nails to secure the first layer, then cut another and repeat the process.
Meshing It All Together!
Next, you’ll need some metal lath – galvanized wire mesh that helps the stucco stay securely in place.
Trim it up to the same size as the builder’s paper with heavy duty shears or wire cutters. Secure it to the wooden lath and builder’s paper with roofing nails.
Mix Up The Stucco!
A basic stucco recipe is as follows:
– 47 lbs of generic portland cement (that’s half a bag)
– 6 shovelfuls of brick sand or mason’s sand, dampened slightly
– 1 shovelful of hydrated lime
– ½ cup of an acrylic bonding agent
All of these ingredients can be found at a hardware store or a big-box store like Home Depot or Lowes.
Begin by putting all of your dry ingredients in a large wheelbarrow. A mortar hoe is the best tool to use to mix your stucco, but anything that will let you blend your dry ingredients thoroughly will work.
Once the dry ingredients are mixed, add your acrylic bonding agent, and begin adding water and stirring vigorously. Don’t put in too much water at once – keep adding it little by little until the stucco reaches the consistency of a dense frosting.
In this state, your stucco will be usable for somewhere between 30-90 minutes, at which point it will begin to harden and set.
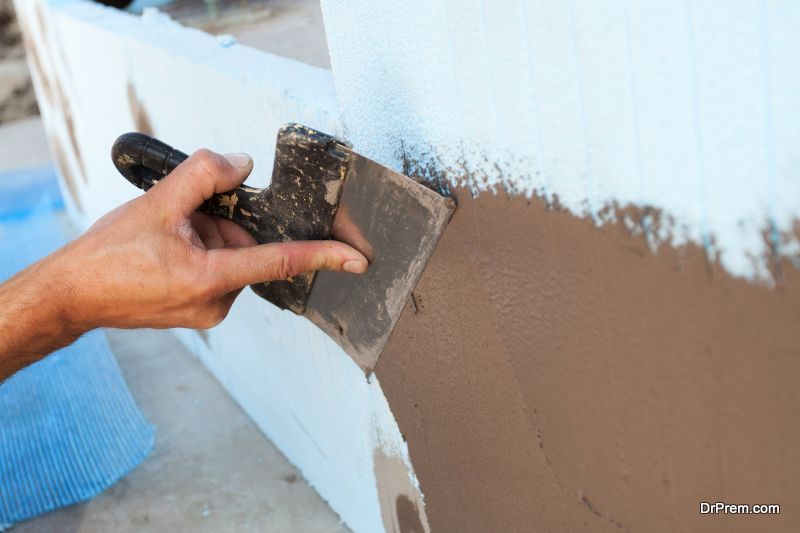
Start Slinging Your Stucco!
Begin the application process by wetting the edges of your old stucco – if you don’t, it will suck out the moisture in your new stucco, and the patch won’t bond strongly.
Scoop out large, fist-sized wads of your new stucco onto a brick trowel, and begin slinging them against your wire lath until it’s been totally covered up. Smooth the first layer, pack it against the edges of your old stucco with your trowel, and repeat the process until your layer is about ½” from the depth of the existing stucco surface.
Score It!
Let your coat dry until it no longer looks “wet”. Using the point of your trowel, score the surface with some deep grooves to give your next coat of stucco something to grab onto. Tape a large plastic sheet over your stucco, and leave it.
Apply The Second Coat!
Mix up another batch of stucco, and apply it as you did before, working from the bottom up this time. The second coat should be thick enough that it almost reaches the surface level of the old stucco. Pack down all of the edges with your brick trowel, and once the second coat is no longer wet, use your trowel to smooth it and pack it just below the depth of your existing stucco. Cover it with a plastic sheet for three days.
Apply Your Finish Coat
Mix up a final batch of stucco. If your walls have a “dash” finish with globs of stucco sticking out, you’ll want to apply it by flinging small globs of it at the surface of the stucco. If your finish is more “chunky”, look at the surrounding area and try to imitate its look by molding and crafting your stucco application. It doesn’t have to be perfect – especially once it’s painted.
Paint It!
After your patch cures for a week, paint it with an elastomer-based acrylic paint that imitates the color of the surrounding stucco. Once painted, your patch should be totally invisible. Nice job!
When To Hire A Professional
As shown above, it’s simple enough to repair small patches in your stucco. However, if you encounter a patch larger than, say, a yard or two in size, or the elements have destroyed or weakened your wood lath and other interior materials, you may not be able to handle the repair yourself.
You’d have to remove, recut, and secure your wood lath, and even potentially some interior elements like insulation if the damage is deep enough – this isn’t something that your average person can do on their own.
So if you have a large, extensive patch of stucco that needs to be repaired, we recommend hiring a professional. But if it’s just a smaller piece, you’ve got all the tools, instructions, and advice you need right here to do the job on your own.
Article Submitted By Community Writer

