A plasterboard wall may get damaged due to several reasons -through the removal of an electric plug or socket, by shifting and settling of a building or even due to hanging of pictures on the walls. A number of times stress release points also happen to be a cause of the fracture. The expansion and contraction of framing lumber due to the seasonal variations in humidity may also lead to cracks. Whatever might be the reason, it severely effects the condition of your wall and you should not ignore it. Why not repair it at the earliest with the help of the simple procedure that I have for you.
Difficulty Level: Easy
Time Required:: Approximately 24 hours
Estimated Cost: Depends on the size and type of damage.
Resources Required:
1. Screwdriver
2. Self-adhesive drywall mesh
3. Can opener
4. Drywall knife
5. All-purpose drywall compound
The Procedure To Repair Plasterboard Walls:

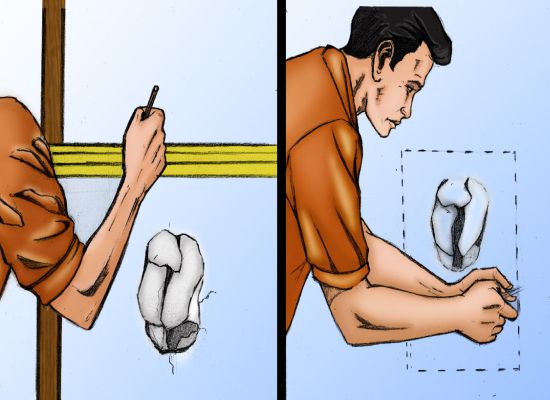
1. The first step requires cutting around the damaged area so that the hole or the crack becomes neat. Drive out dust particles from the area to make room for effective repair.

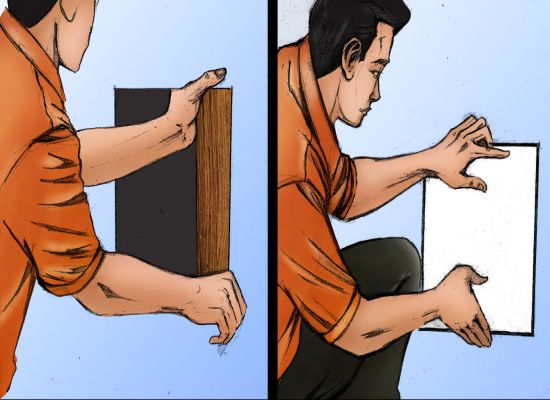
2. Use the blocks of self-adhesive fiber mesh to cover the crack. Make sure that the fiber mesh covers it completely. Don’t worry if the mesh extends beyond the cracked area. Just make sure that it is applied to the wall in a straight line so that it does’t buckle under pressure.

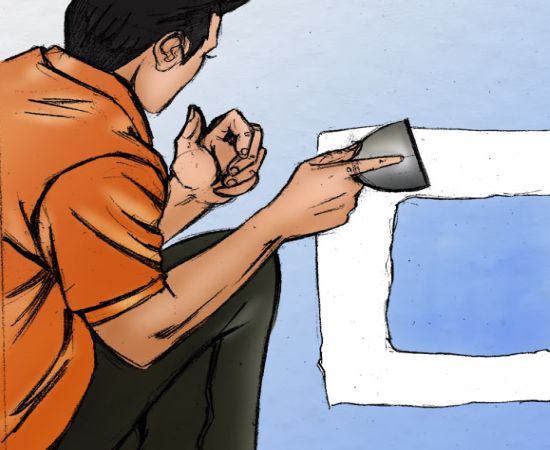
3. Now you are ready to apply the all purpose dry compound to your wall. Mix it thoroughly with water and be sure to follow the manufacturer’s instructions. The drywall compound should be chosen with care. It is better to prefer dry powder compounds over the ready mixed joint compounds. The dry powder is rich in gypsum and thus sets as hard as concrete when applied to the wall.

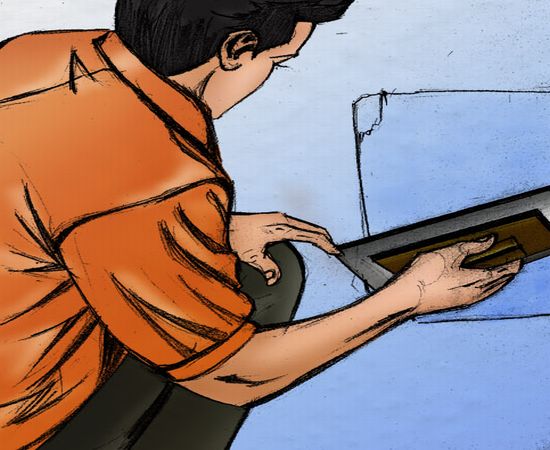
4. Now, with a drywall knife carefully apply the mixed compound to the crack and over the drywall mesh. Usually, several coatings are required for the repair to be effective.

5. Finally, you can brush the spot with a scrubber to smoothen the edges or the uneven areas on the wall. Make sure that the wall is dry. You always have the option of painting your wall with a primer and paint after the completion of the repair process.
Frequently Asked Questions
What are stress release points?
Houses can develop joints that may get strained, leading to cracks. These joints are called stress release points. Often, due to seasonal variations, a tension occurs in the ceiling following a expansion and contraction, which is responsible for the crack.
Quick Tips
1. The most important thing is to maintain a constant level of humidity in your house. This is really an arduous and demanding job and is hard to achieve. But dryness is a big reason behind the appearance of cracks.
2. If the dents are large, it is advisable to wait overnight before you apply the second coating. The same should time should be allowed before the third coating.
3. Sanding smoothens your wall. So, don’t forget to sand your wall after it is dry.
4. To get the desired results, it is wise to remove all the dirt from the crack and see that it is completely dry.
Things To Watch Out For
It doesn’t matter what adhesive you use, but always read the manufacturer’s instructions before use. Some adhesives tend to take longer to set and dry, whereas others are set quickly. A misunderstanding on this issue may lead to the wastage of effort and money.


