

Is it time to update your dowdy old ceiling fans with newer, sleeker, fancier ones? You don’t need to hire a handyman. It’s easy to swap out an old ceiling fan for a new one — it takes just a few hours. And if you already have a ceiling fan in place, you won’t even need to install a new, fan-rated electrical box in your ceiling. Follow these steps to replace a ceiling fan yourself.
1. Remove the Old Ceiling Fan
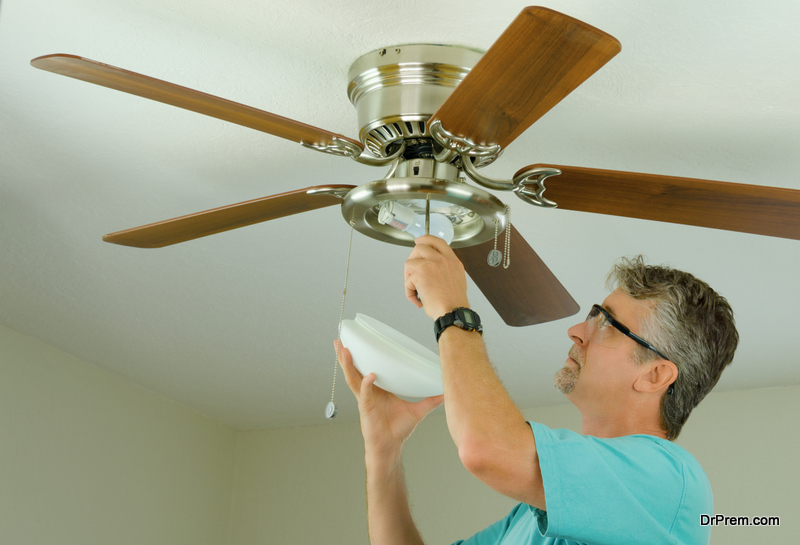
 If you’re replacing an old ceiling fan with a new one, it’s as easy as removing the old fan and wiring up the new fan the same way. Start by shutting off power to the room you’ll be working in. Turn the power off at the breaker box and at the wall switch. Then you can use a screwdriver to remove the canopy over the wiring near the ceiling.
Once you have removed the canopy and revealed the wiring, use a voltage tester to double-check that it’s not live. Then you can take the caps off the wires and untwist the wires to disconnect them. Move the fan off the mounting bracket, then lift it free (you might need someone to help you with this part — ceiling fans are heavy). Once you have removed the fan itself, you can take down the mounting bracket. Verify that the electrical box in your ceiling is a fan-rated one, and replace it if it isn’t. Make sure the ground wire coming from your ceiling is wrapped around the ground screw in electrical box before you connect it to the ground wire coming from the fan motor assembly.
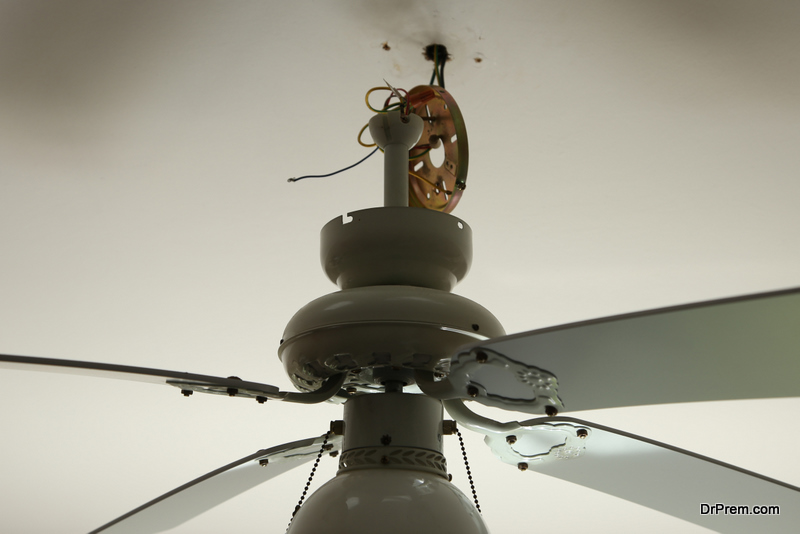
2. Put up the New Mounting Bracket
Your new ceiling fan will come with its own mounting bracket that will need to be attached to the electrical box with 1.5-inch 10-32 machine screws. If you’re putting up a ceiling medallion, though, you’ll want to do this before you install the new mounting bracket. Once your new mounting bracket is in place, you can thread the electrical wires through the bracket.
3. Assemble the Fan
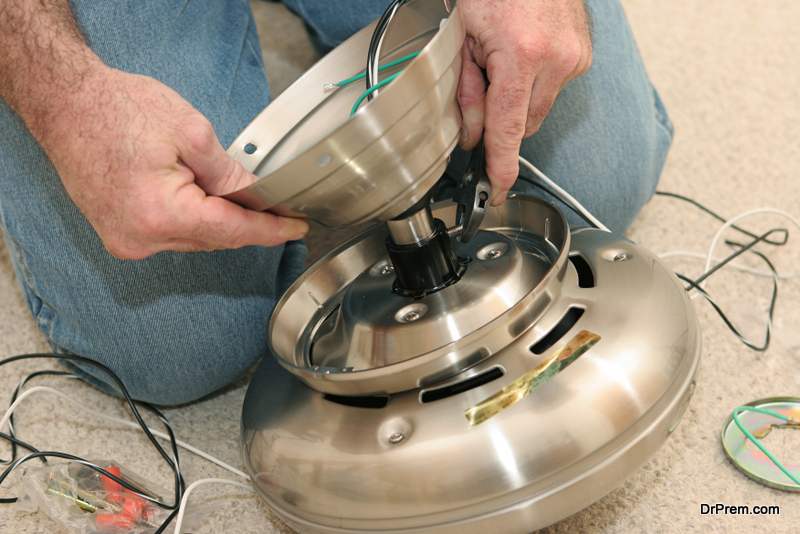 Assemble your fan’s motor assembly on the floor before you wire it up (leave off the light fixture and blades for now — you’ll attach those later). You’ll need to feed the wires from the fan motor assembly through the downrod, if you’re using one, and then thread the down rod into the motor assembly and lock it in place by tightening the locking screw on the side of the pipe. Most modern ceiling fans come with a short downrod for use with normal ceiling heights, but if you have higher ceilings, you’ll need a longer downrod, and if you have low ceilings, you’ll need a flush-mount ceiling fan. Ideally, your fan should be about eight to nine feet off the floor.
4. Wire up the Fan
Wire up your new fan the same way the old one was wired — the black wire in your fan attaches to the black wire coming out of your ceiling, the white to the white, and the green or bare to the green or bare. You can usually hang the motor assembly from the mounting plate on one side while you do the wiring. Twist the bare ends of the wires together and cap them with wire caps. Once you’ve finished the wiring, swing the motor assembly into position and fasten it to the canopy using the provided screws.
5. Attach the Blades
 Now that your fan motor assembly is in place, it’s time to attach the fan blades and wire up the light fixture, if your new fan has one. Attach each blade iron (that’s the metal bracket that fixes the blades to the motor assembly) to its corresponding blade, then attach each blade to the motor assembly.
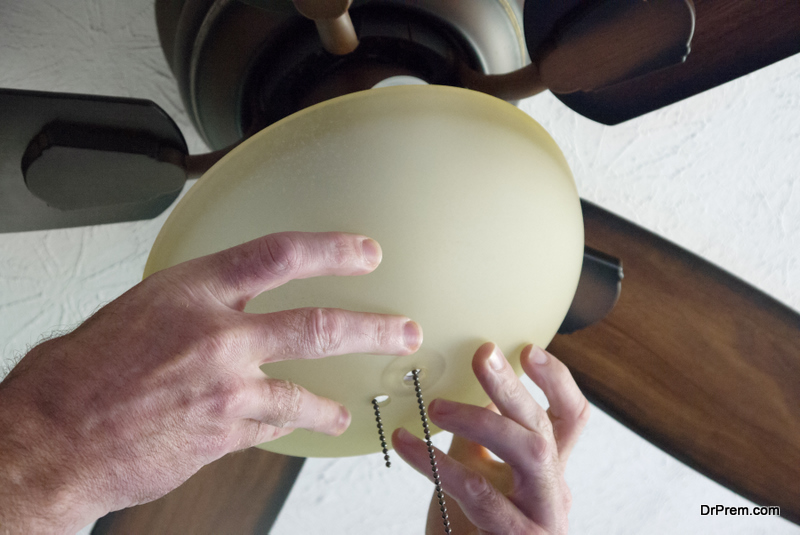
6. Wire up the Light Fixture
Wiring up the light fixture in your new fan shouldn’t be too hard — most modern ceiling fans have light fixtures that simply plug in to the motor housing. If the light fixture needs to be hardwired, do it the same way you did the motor assembly — black to black, white to white, green (or bare) to green (or bare). Once the light fixture is wired up, you can install the shades and light bulbs. Then it’s time to restore the electrical current and test your new fan out!
Replacing an old ceiling fan with a new one is a fairly straightforward DIY job. It’s really just a matter of removing the old fan and wiring up the new fan the same way — so it’s a great project for any homeowner looking to get started in DIY, and the feeling of satisfaction you’ll enjoy will be dwarfed only by the cool, delicious comfort of your new fan’s gentle breeze.
Article Submitted By Community Writer

