

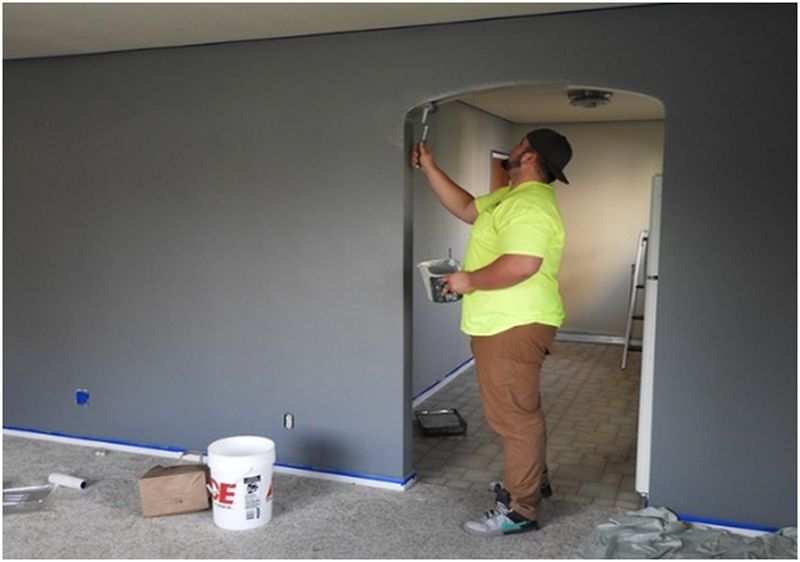
Now that the weather is cooler, you may be looking for ways to make your home feel fresher and cozier, and you may also be keen to complete some tasks that were too hard to do during the hot time of the year.
If so, one of the jobs on your to-do list may be to paint the interior of your home. If so, you must prepare your place well before you start.
1. Get Rid of Clutter
Start by decluttering the rooms you plan to paint. Often, it can be hard to get to all the surfaces if there are too many things in the spaces, especially in areas such as attics, basements, and spare bedrooms that many of us end up turning into “junk” rooms.
Children’s bedrooms and offices can also tend to become pretty chock-full of items and therefore need a good decluttering ASAP. Go through belongings to see what you can sell, donate, recycle, swap with others, or bin.
2. Remove Items from Walls and Ceilings
Next, you’ll want to remove items from the walls and ceilings inside your home that will get in the way of the painter, whether that’s you or someone else. For example, it’s best to take down art pieces, posters, photo frames, curtains, drapes, blinds, knickknacks, light fixtures as appropriate, and the like. You may also want to take off switch plates and outlet covers, as they could get paint on them if the worker isn’t careful.
Plus, if you’re considering replacing some appliances currently situated on the walls or ceilings, such as fans or HVAC units, it’s worth getting them taken out sooner rather than later. That way, you can get the space painted and then install a new ceiling fan with lights or without in each room or any reverse-cycle air-conditioning units you plan to purchase.
Also, take the time to move large furniture items currently placed against or near walls so that they’re not in the way when the painting begins.
3. Complete Necessary Repairs
Completing any necessary repairs to walls and ceilings is also wise before you get rooms painted. Inspect each wall and the ceiling for cracks, crevices, fissures, gaps, holes, and other issues that need remedying. Patch bits that need this done, and then sand the areas until you have smooth surfaces to paint.
Also, add paintable latex caulk to fill cracks between the baseboard or other trim and the wall, and check for any water damage that needs sorting out. If you need to repair any wall- or ceiling-based appliances, it’s worth getting this work done before you paint, too, so there’s no chance of tradespeople making a mess around the freshly-painted areas.
4. Clean the Walls
Unless you’re planning on getting a contractor to do this job as part of their painting quote, you will want to clean the walls to help prepare each room for the fresh coat. Start by scraping old paint off where you can see that it’s loose and peeling.
Use a paint scraper or a wire brush to do this task. You can also use sandpaper to get even and level holes and some sugar soap or other cleaner (or even warm water) to remove dirt, dust, and the like from surfaces.
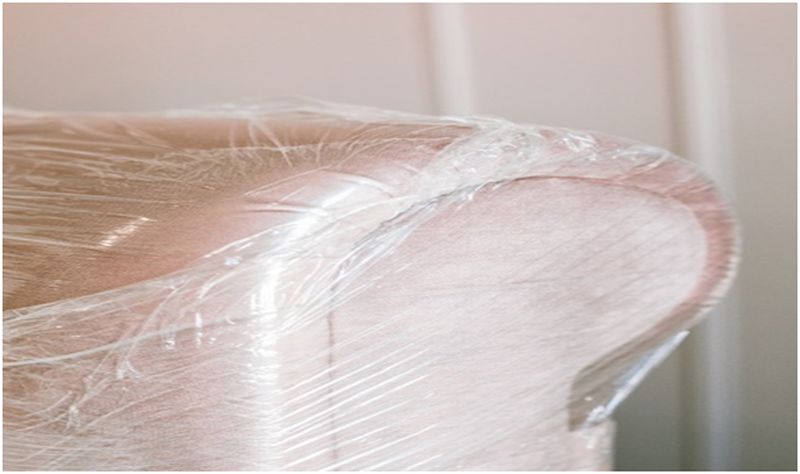
5. Take Out Belongings and Place Drop Sheets
It’s essential to safeguard all your belongings in each room. To do this, once you’ve pushed large furniture pieces into the center of the room, cover them with a large plastic drop cloth or sheet or two. As for the smaller objects, remove them so that, even if they’re not right on or near walls or ceilings, there’s no chance that paint splatter could hit them. You may also want to protect any carpeting in rooms with some canvas drop cloths.
6. Tape Up Areas
Another crucial element of preparing the interior of a home for fresh paint is taping up. Add painter’s tape (specifically created for this job, so you don’t have to worry about leaving residue behind) to any surface you don’t want color to get on, such as windows, floorboards, power outlets, light switches, and various fittings and fixtures.
Be sure to apply the tape straight and flat so you don’t miss areas, and so that paint isn’t able to seep underneath it.
Once you’ve decided to paint your place, you may want to get straight into the job or organize a professional to complete it right away. However, your money and time will be better spent if you take the time necessary to do the jobs mentioned above and set up a clean, readied canvas first.
Article Submitted By Community Writer

