Your dream home deserves to be perfect. After all it takes years of hard work and efforts to get it right. However there are certain things that can be influential in ruining all your hard work. Some damages in the house are more serious than others and a leaking roof definitely ranks high in that list. Apart from the general damage to the roof it actually goes on to damage a lot of other things in the house. Even furniture and such items are not spared. So it is important that you know how to fix a leaking ceiling
and that is precisely what this article is all about. We will provide you with some easy and simple DIY tips to fix this very serious damage.
Some DIY tips to fix a leaking ceiling
- Look for signs of moisture:
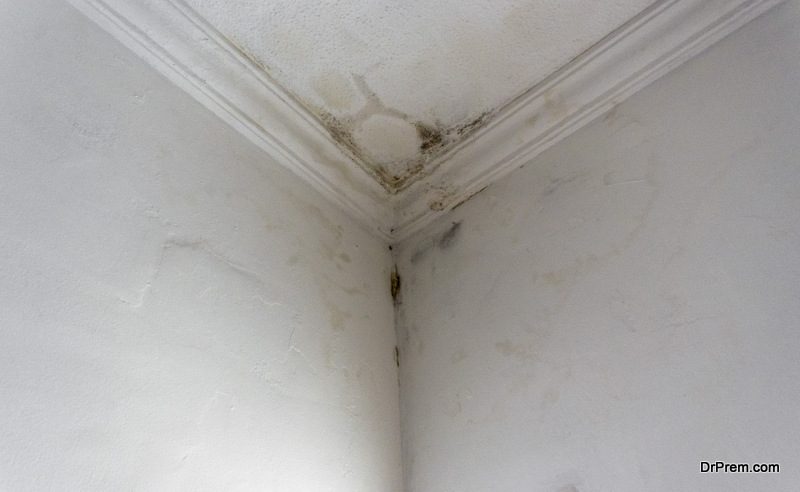
If you are willing to fix a ceiling that is affected by leaks one of the first things that you need to do is identify the spot. Only then can you go ahead and fix it. So in order to identify the leaking spot, you have to observe carefully. In the initial days of the leak it is masked well and hard to spot. So look for some damp spots in the ceiling or the walls. Also be on the lookout for the crumbling paint and plaster as they might be the indicators as to a nearby leakage spot. Another easy way to spot them is to be on the alert for some coffee colored stains appearing on the wall paint or the ceiling paint. The earlier you identify the leak the easier it will be for you to fix a leaking ceiling. - Lay down a cloth or a tarp to stop the water: Even before you go on to fix a leaking ceiling this is an important step to be followed. You can lay down a cloth to absorb the water that is leaking. This will also help you to protect other precious items in your house like the furniture. This will also be of great help as this way you can also collect the debris from the leakage spot.
- Use a screwdriver to puncture a hole in the ceiling: This will be of good help in your attempt to repair roof leaks. The leaking water will drain from this hole that you can easily make with your screwdriver. You can collect this water in a bucket to avoid having a lot of water on the floor. Just be on the lookout for two things in this regard.
Firstly, if the leak has been there since ages and there is too much damage and water then there is a chance of the roof collapsing on you.
Secondly, you might be faced with a huge hole in trying to do this but that would also be of good help when it comes to spotting the leak.
- Repair the leak and make sure there will be no further damage:
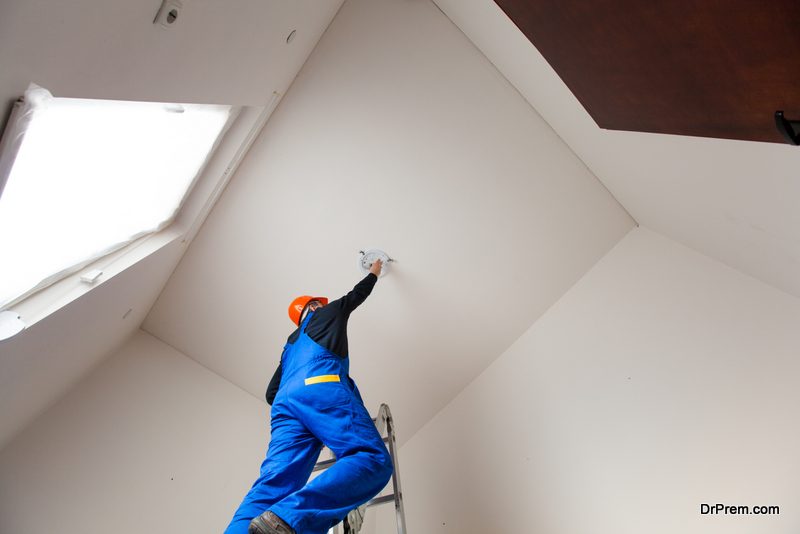
Once you identify the spot and go through all that we have said so far it is time to get to the repairing part. The leak can be due to a leaking or fractured pipe or due to the damaged condition of the ceiling. The repair work will vary accordingly. In some cases the mere water damaged paint hides a lot worse on the inside. If you find the leakage to be that hard to fix do not hesitate to seek professional water leak repair companies help on this matter. - Remove the damaged ceiling: Once fixed the next part will be all about getting rid of the damaged areas of the ceiling. For this you need to switch the electrical supply off temporarily and go about doing the following thins. Firstly you need to cut a square hole that goes through the wall. Keep it in mind however that in case you are faced with a gas pipe or electric lines in the way it is best to abandon you attempts and seek professional help. At this point you can potentially do more damage than good to fix a leaking ceiling.
- Cut carefully around the damaged area: First demarcate the area that you are going to cut off. Then very carefully cut it off and remember that this is a task you need to do with the best of finesse because a random work will leave the looks of your house in a bad shape.
- Put it back together:
This is as difficult a part as was fixing the leakage. Now, to put it back, this is the right time. Measure the area that you cut off and get yourself two wooden planks according to that size. Remember that this should be good quality wood unless you want to repeat all this hard work soon. Screw this firmly inside the hole in the ceiling and ensure that you have screwed it both sides to provide it some stability. - Cut the replacement plank a little wider than the hole: This will allow you some slack will you work to put things back in place.
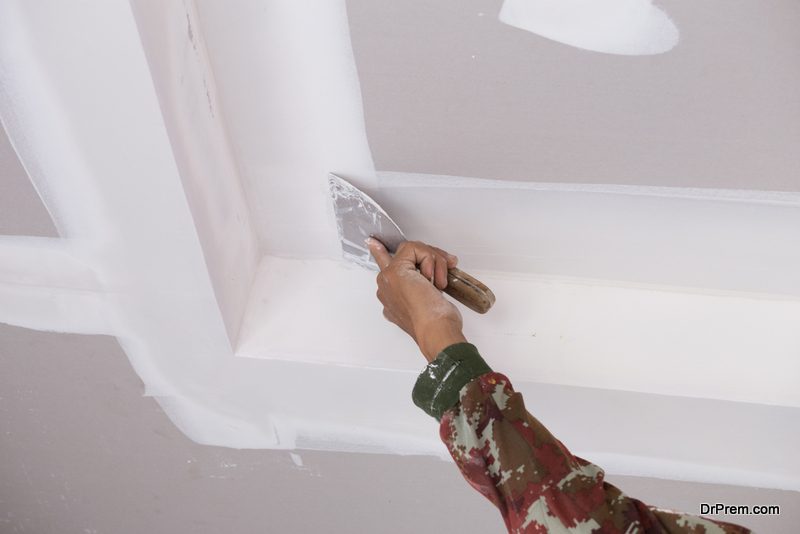
- Drywall compound: This is extremely necessary to hold everything in place and you can easily obtain this from the hardware stores. Use a trowel for the application of this joint compound and make sure that it is evenly distributed all over the place to provide the utmost stability.
- Push the replacement drywall now into the hole made: Your repair work is all but over. Just put this back in the hole and you can enjoy a long leak free time ahead of you.
Final words
Due to the overall health of your house and your possessions it is important that you repair roof leaks at the earliest. This will save you from a lot of further trouble down the road like water damaged paint and damped walls and floors. A stitch in time saves nine and a leakage repaired at the earliest saves your house. So we hope you would put this knowledge to good use and enjoy the beautiful house you have.