

Is your roof looking a bit worse for wear? Maybe you just own an older home and want to spruce it up with some modern appeal. The roof is a great place to start, but it can be complicated to navigate your way through this DIY job.
Once you know what you’re doing though, repairing or replacing a roof yourself can save you thousands in contractor fees. Plus, you’ll learn plenty along the way! Here are some of the basics.
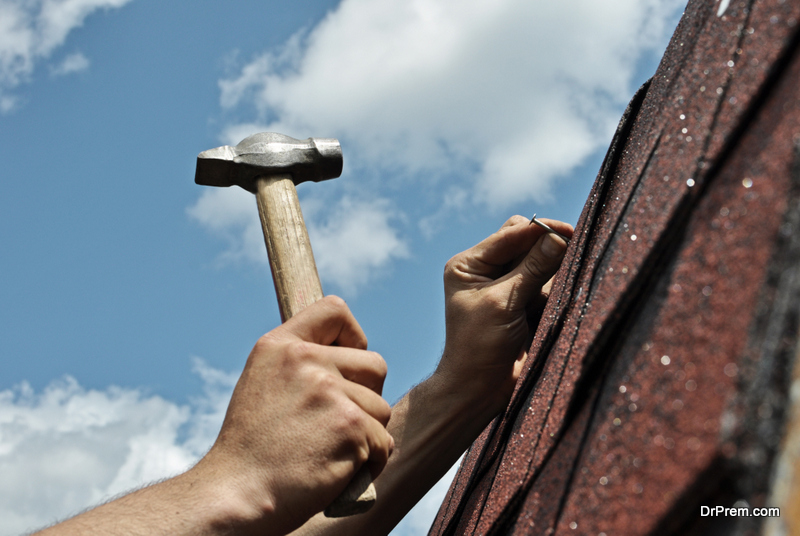
Safety Always Comes First
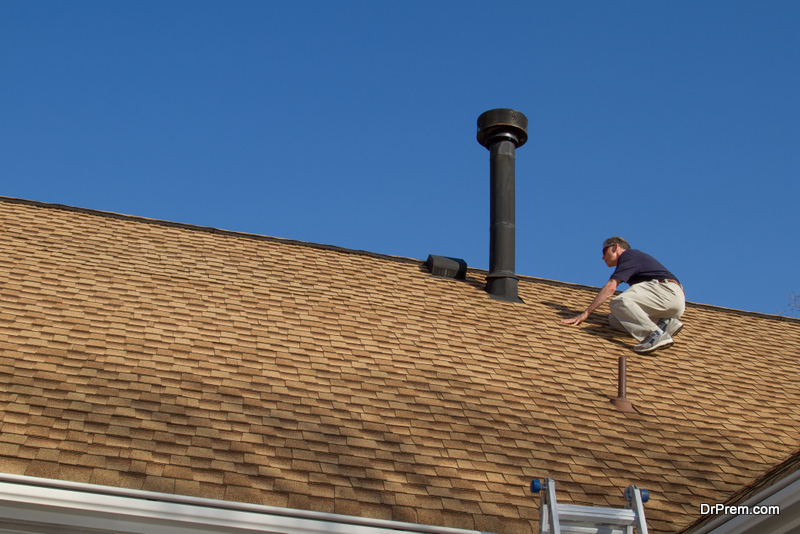 As with any DIY project, safety should be first and foremost. Some people will be lucky enough to have a flat roof, which makes working up there a lot easier, but it still isn’t without risk. For a sloped roof, you need to take extra care.
Naturally, you’ll want a sturdy ladder, good footwear, and plenty of good balance. You can generally see where roofing
sheets are riveted in, and this gives you an indication of the safest spots to step. Also, don’t forget to take the weather into consideration. Windy, rainy conditions are definitely not suitable for roofing work.
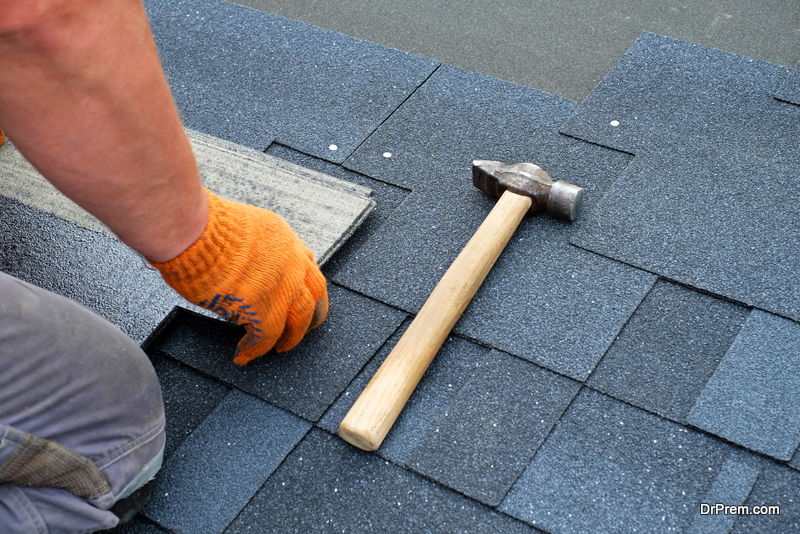
Which Roofing Material to Choose
Once you’ve considered all safety aspects, you’ll need to choose the type of roofing material you’ll use. Most people will stick with something similar to their current roof, but this isn’t essential. Some of the more popular types of roofing are:
Metal sheeting – Popular due to its durability and eco-friendliness when it comes to water collection.
Brickwork – Perhaps a more advanced project for the humble DIY enthusiast, but brickwork such as limestone or granite are extremely resistant to most weather conditions.
Terracotta tiles – A great look, eco-friendly, and best of all provides added insulation.
Concrete tiles – These can be easily coloured to suit any aesthetic, and they’re also long-lasting.
Understanding Roofing Layers
 You’ll need to understand how roofing layers work together if you’re going to replace a roof competently.
First, you have the underlayment. This is usually a black plastic sheeting laid down first, designed to add extra protection from the elements.
Secondly, flashing. Flashing essentially refers to metal pieces that are used to divert water and prevent pooling.
Then comes the main roofing material, which may vary depending on your preference as discussed above.
The roof trim comes last, and this protects the seams of the roof.
Choosing the
We’ve talked about the outer part of the roof, but if you’re working up there, it’s an ideal time to add insulation into your roof cavity. The key is choosing the right ceiling insulation batts. Ideally, you want to look for something that’s highly rated for thermal performance. You can even find eco-friendly batts that are fire-resistant.
All insulation comes with an ‘R’ rating, which refers to their heat resistance properties. For ceilings, you should look for something between 2.5 – 6.0, with 6.0 being the strongest.
There are many insulation products on the market, so it’s worth doing some research so you can learn more about insulation. It’s an important part of your roof, and can drastically improve the comfort inside your home.
Article Submitted By Community Writer

