Bean bags are one of the most comfortable chairs to lounge around on your lazy off days from the stressful week. They are comfortable and can match any decor inside your house. However, there are times that we are so fed up with the same old beanbag patterned designs that we often opt to buy a new one with a more beautiful design. Still, buying a new one is more expensive and eats more space than it normally should. Rather than buying and junking your trusty old friend, why not personalize it to give it a brand new look?
You don’t have to spend tons of money in personalizing your bean bag chair covers; you don’t even have to take it to interior designers to do it for you. You can personalize your bean bag in these easy steps:
Step One: Prepare the things you need
Before starting, you need to have the following materials. First, you need tape measures, pins, a Velcro tapes (optional), a home decor fabric of your choice, a sewing machine,fabric scissors, thread, a pencil and cardboard.
Once you have the materials needed, you are now ready to make your own cover.
Step Two: Take measurements
Get the bean bag and put it on top of the cardboard. Make an inch allowance before tracing the bottom part. After tracing the bottom part, cut the pattern and set aside.
Then, measure the length and the width of the bean bag. Add another one inch around the sides. Take down notes on the measurement of the beanbag.
Step three: Work with the cloth
For the bottom part: Get the pattern that you have made, and then trace it on the home decor cloth. After making the pattern, cut it and set aside. If you have a round bean bag, cut two patterns.
For the body: Using a tape measure, measure the cloth according to the measurements that you have taken. Use a tailor’s chalk to mark the edges of the body of your bean bag. Then, cut the body of your slipcover to create the fabulous beanbag that you always wanted to have in your living room.
Step Four: Pin it
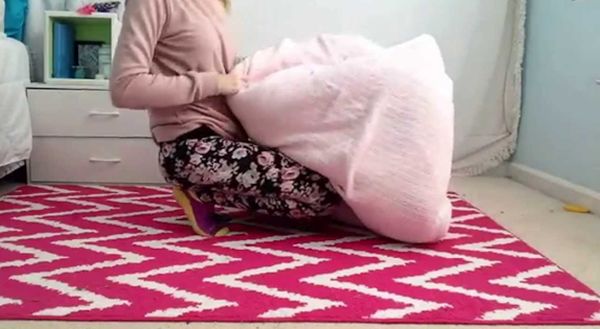
After cutting the fabrics using a fabric scissors, get your pins ready and pin the sides of the fabrics. It is important that you pin your fabrics together before sewing them. This will help guide you when you are sewing the seams and edges of your slipcover. You can also make a temporary running stitch to hold your fabric together.
Photo source: Youtube.Com
Step four: Sewing it
You can now sew your slipcover. It is better to use a sewing machine when you are piecing your fabric together. If you are using a Velcro, place the Velcro on the hem of your bean bag. Then sew it.
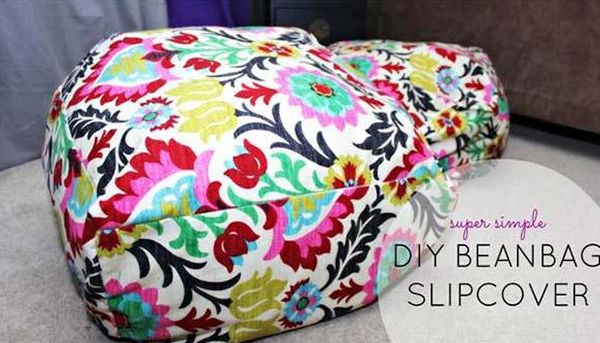
Once you are done sewing, you can now stuff your beanbag inside the slipcover. It’s fun, easy and affordable. So why buy a new one when you can personalize your old one?
Article Submitted By Community Writer