
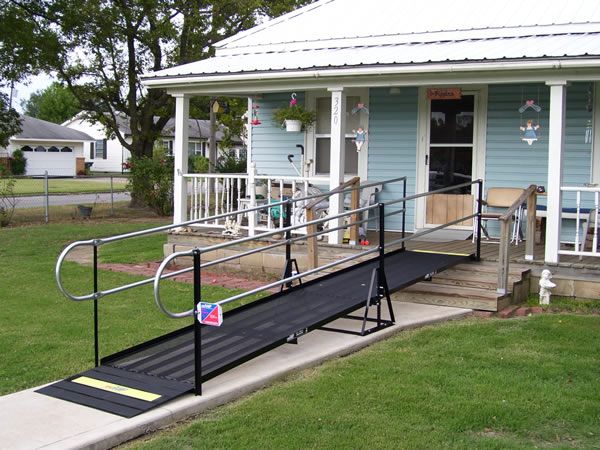
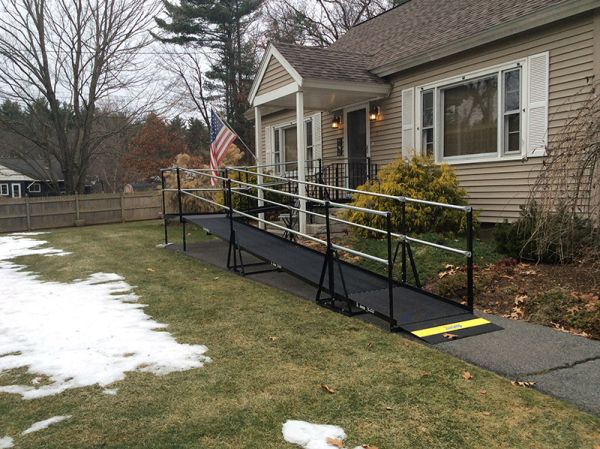
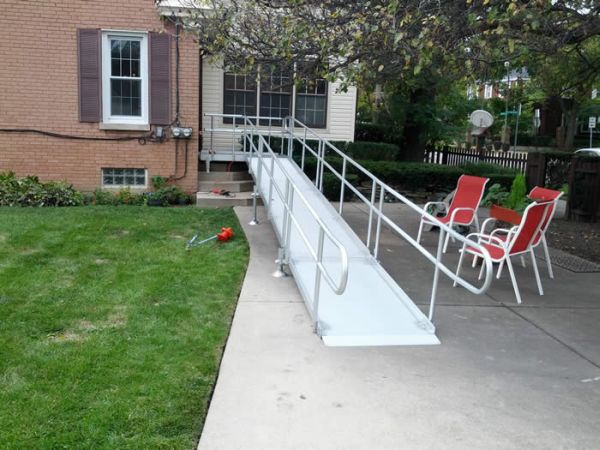
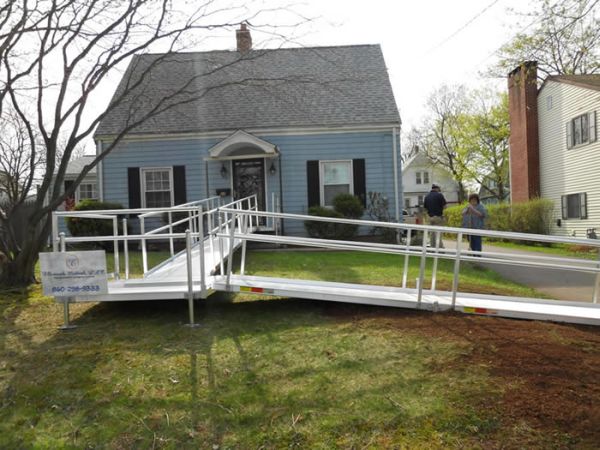
Almost all of us would have that one guest who would find it difficult to enter our home simply because it doesn’t have a wheelchair ramp. Why deny your guest the pleasure of visiting your home when you can install a wheelchair ramp to the front door? It is a very simple process really. Plus, you can opt for a removable ramp which you can use only when the guest is visiting. Here are some steps that would help you set up a wheelchair ramp at your front door in an easy and effective manner.
Step 1: Measure Accurately
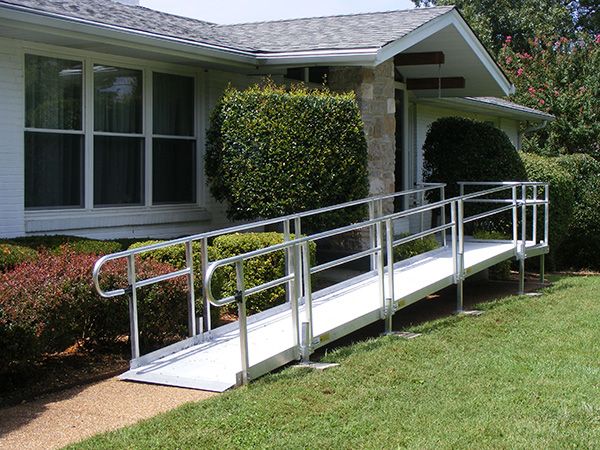
Your first step would be to measure the total height of your home from the ground. This would mean the height measured from the ground to the top of the stairs. The wheelchair ramp you design must have the same length as this height. For instance, if the height measures 7 inches, your wheelchair ramp would need to be at least 7 feet long. You would also need to make the platform wide enough for a wheelchair to move on it as well as turn around on comfortably.
Step 2: Draw Plans
Your next step would be to draw up the necessary plans for the ramp. While you may want to make some drawings of the area, photographs would offer you more visual perception. These drawings and photographs will help you to get the necessary permissions or building permits for the ramp, as well as sort out the exact amount of wood and other supplies you will need for the construction.
Step 3: Get Help
Although installing a wheelchair ramp is very much a DIY process, you can always appreciate the extra hand. It would be better if you ask someone with woodworking experience if you don’t have a fair idea of the process yourself.
Step 4: Make an Action Plan
This is where you actually start building the ramp. As such, it would be good to have an action plan that involves starting from the landing area first and building the ramp from there. This would leave you with few corrections that would otherwise leave the entire ramp unfit for the entrance.
Step 5: Separate Construction into Three Phases
Instead of undertaking the entire project as a single swing, consider splitting it up into three different phases. This would make the entire project simpler. Accordingly, the three phases include:
- Foundation: This phase would involve setting up the posts on the ground. These posts would support the wheelchair ramp. While pounding them into the ground would do well, there are instances when you would need to cement them into place. However, this is a permanent option wherein you cannot remove the wheelchair afterwards. Make sure you have enough posts to support the entire ramp.
- Frame: This phase would involve building the frame for the landing. The length of the frame would need to match that of the ramp, and would need to be attached firmly to the posts. Reinforce the joints to ensure more stability for the ramp as the body is fitted above it.
- Body: Once the posts and frames are in place, construct the body of the ramp. You can use decking boards for the same purpose. Once completed, you can attach the body to the rest of the structure.
Step 6: Test the Completed Ramp

After constructing the ramp, sand and seal it properly. Test the ramp by walking on it as well as using a wheelchair on it to ensure that there are no other issues that might cause trouble later. Make sure you try making at least a couple of turns at the landing to ensure that you can move the wheelchair around easily without sliding off down the ramp. Your wheelchair ramp is now ready for use.
Summary
Thinking of building a wheelchair ramp for your home? Then here are some steps that will help you install one in an simple, easy and effective manner.