

Having your own CNC router could be beneficial for use in home projects. It could also be handy to have if you run a small-scale business that involves the design manufacturing of products. CNC stands for Computerized Numerical Control, so one can safely assume a level of computer programming is involved with building this router. But what is a CNC router used for?
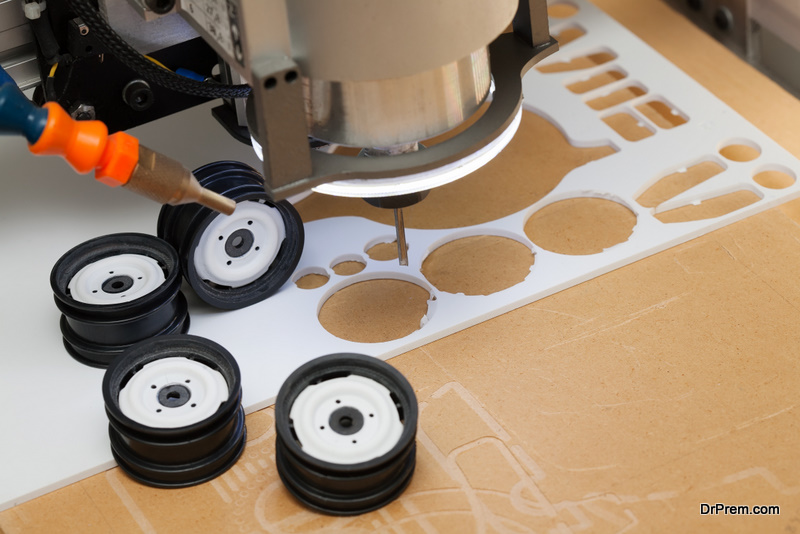
CNC Router is a computer-controlled machine typically used for intrinsic cutting designs done on materials such as wood, aluminum, glass, and even plastic. Before thinking thatit’s too complicated, online resources are available that could help you conquer that hesitation. Guides vary from how-to instructions, video tutorials, and even online educational courses similar to a program like DIY Smart Saw.
Such guides would instruct you on how to prepare if you want to build a CNC router. They would also mention the following basics:
1. Developing A Design
 To begin, prepare a design to keep you on track with your project, making sure that the result best suits your needs without deviating too much from what you’re expecting. Your design can be completed via a computer-aided design program if you don’t want to use the usual pencil and paper. Do proper documentation of every dimension in your design, especially with more complex ones.
2. Moving Table or Moving Gantry
When developing the design of your CNC router, you may also want to consider your working space. If you have plenty and you feel a moving table would suit your needs, develop your style around that specification. However, if you don’t have much space, a moving gantry might work better.
If you decide on a moving gantry, its design will vary based on your needs and the materials on hand. But a moving gantry may provide you with the greatest flexibility. Also, depending on the materials you plan to cut with your router, you will want to make sure these materials are stronger or of equal strength. For example, if you plan to cut aluminum with your router, you may want to ensure your router is derived from steel parts, not something like wood.
3. Creating The X Axis/The Base
 Once you have settled on your materials, your next step is to develop the foundation of your machine, and it involves the X axis. It’s the basic frame of your router where it will sit on, thus requiring heavy support. When developing your X axis, have plenty of linear support. Think of a square with support columns down the center to ensure it doesn’t get bent out of shape during use. The more support your base has, the fewer chances of it being damaged.
4. Creating The Gantry System/Y-Z Axis
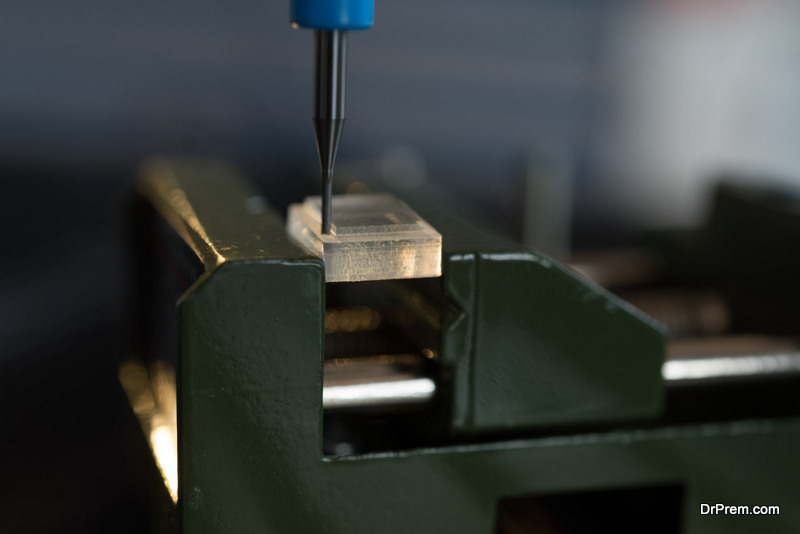
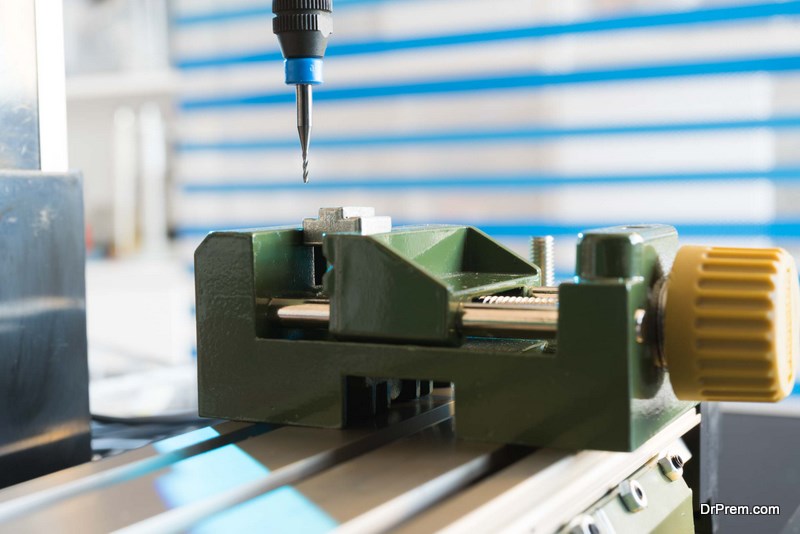
When you have developed your X axis that meets your design specifications, the next step is to create the gantry system and Y axis. The gantry system will be home to the rest of your parts such as the Y and Z axes, so establish which gantry style is best for you and your space. Once the gantry system is in place, the next step is installing the Y axis, which, depending on your design, is a unit that slides on two rods along the gantry system and will span the length of your X axis base.
Meanwhile, the Z axis is where you’ll adjust the height of your tools during their use to achieve different depths of cuts in your work. Ensure that you have measured correctly to be able to remove the tools if needed. Overall, between the gantry system, Y axis, and Z axis, you’re looking at three components that travel in three different directions: the gantry has a left to right movement, the Y axis should have the front to back motion, and the Z axis has an up and down movement.
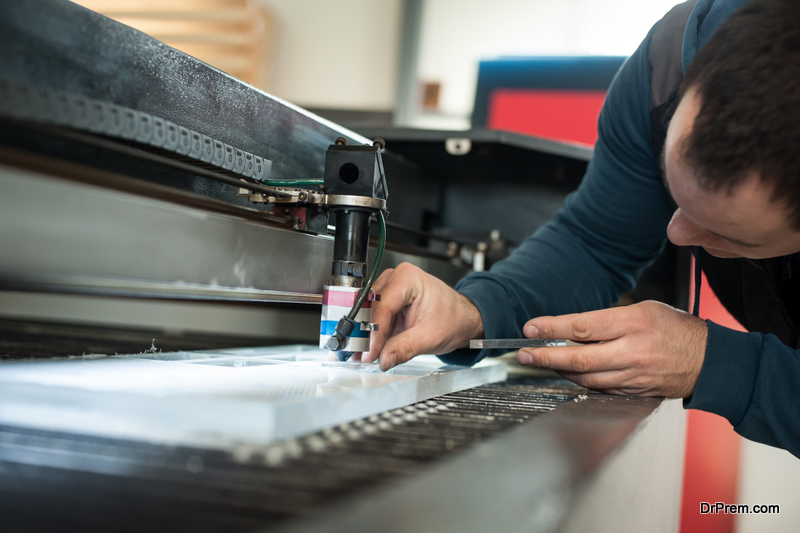
5. Putting Together The Mechanics And Electronics
Once you have the frame in place, put together the mechanics and mount the tools into your system. Granted, putting together the mechanics of your system will vary greatly on the designs of your CNC router. But overall, if you need to find a how-to guide online, you may find a system that fits close to yours that you can follow. It should include how to program your electronics and set it up with your system.
6. The Cutting Board
To add a work surface to your router, have a cutting board. Most of the time, the board consists of wood or composite materials. Find a quality product that won’t break under pressure. This step may require some research, but looking at what other router builds consist of would be a good place to start.
These cutting boards should cover the overall surface of your X axis to ensure your gantry system won’t be damaged by cutting straight into your metal base. Once you have this in place, proceed to test your CNC router. Once you do, you’ll find many things that are possible with this system, like creating this Imperial Chair, for example.
Conclusion
The build of your CNC router will be uniquely designed to your specifications. The basis of your build should consist of strong materials to have a sturdy base. Once you have your CNC router, the next thing is to experiment and have some fun with your new machine. The products you’ll create with this system can be amazing and unique.
Article Submitted By Community Writer

