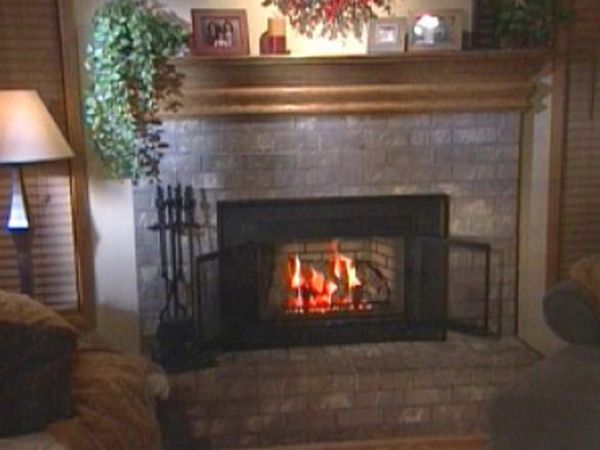

Having a fireplace in your home is necessity in several parts of the world where winters are extreme chilly with temperature dropping to near or below zero degrees. Most of the fireplace requires wood but they are not environment friendly. If the wood-based fireplace is not properly ventilated then it may result in carbon monoxide based poisoning. Apart from that, it generates enough smoke and burning is not always complete. It requires frequent monitoring that makes the task hefty. Installing your own gas-based fireplace is an energy efficient solution. The fireplace, as the name suggests, uses gas as fuel. The energy generated and burning is proper that makes it quite energy efficient. If you want to install your own gas fireplace, you can consider the following tips.
Difficulty level: Moderately challenging
The task is risky as it is about working with inflammable gas. If you do not know much about gas based installation, you need to hire experts for the job.
Time required: The task is difficult and time consuming. However, the time required is always dependent on the skills and efficiency of the person.
Estimated cost: $250 – $500
Resources required:
1. Insulation fiberglass
2. Fireplace kit
3. Mantel kit
4. Metal screws
5. Nails
6. Measuring tape
7. Screwdriver
8. Hammer
9. Level
10. Gas flow-meter
Instructions
Step 1: Vent pipes fixing
First step is to attach both the supplied vent pipes to the fireplace insert mounting plate and fixing it with metal screw. There are proper demarcation for inlet and exhaust pipe. You need to make sure that correct pipes are attached at correct place.
Step 2: Fireplace opening preparation
If you have a fireplace already installed, you need to remove the ash cover out of the floor. After that, you need to fit the vent pipes in the existing fireplace damper to connect it with the chimney. Do remember that correct fit is necessary as incorrect fit might result in exhaust leakage inside the house.
Step 3: Firebox installation
When you have checked the vents and placed them in their place, you need to proceed with attachment of leveling legs of the insert followed by the placing the firebox in place. Make sure that firebox is placed at level and aligned with the vertical center of hearth.
Step 4: Installing the gas lines and electric lines
This step requires professional help and you should not be careless with installation of electric and gas lines. If you do not have any practice, you should not handle the process at all as a small leakage or fault may lead to fire accidents that you should always avoid. However, if you know the procedure to work with the electric and gas line, you can proceed with installation of electric line for the fans and gas lines for hearth. If you have a gas line and electric line already installed of your previous installation, you should just check for leakages and open ends and repair them with professional help.
Step 5: Insert installation
Once every preparatory step is ready, you can proceed with installation of the insert. First, you need to assess the position of insert. Put it close to firebox and connect it with house wiring as per the manufacturer instruction. After that, you need to attach the gas line. Be sure that all lines are attached perfectly as leakage may start a fire. After that, place the insert into firebox by sliding it inside the sliding lines to make a perfect fit. Then you need to insulate the damper of vent pipes and fix the mounting plate and vent line on the insert by sliding it into slots as specified by manufacturer. Screw it tightly with the insert and check the correctness of the level and centering.
Step 6: Accessories fittings
Proceed with removal of retainer at the bottom of glass panel to remove the glass from the front. After that, you can decorate with ceramic logs, glowing embers and mystic embers coming with fireplace to decorate the fireplace to mimic the fire and the glowing ash. Do note that these accessories are not always supplied by the manufacturer and can be bought from fireplace stores. Once everything looks real, then you can again fix the fire glass panel in front.
Step 7: Install the remote control receiver
When everything is place, you need to install the receiver of the remote control of fireplace. The remote normally has a thermostat that you need to place in one end of the room, so that you can assess the temperature in the farthest corner of the room. Test the equipment to assess the condition when everything is ready. The receiver needs to be installed outside the fireplace to prevent heat damage.
Step 8: Fixing the fireplace surround and mantel
When you have fixed the fireplace, surrounds needs to be slide in position about the fireplace unit and fixed with screws with the base of the insert. Place the glass panel and fix it with screws to prevent accidental physical contact with the hot surround. You can then proceed with installation of mantel above the surround. If it is not supplied with the fireplace then you can make one with oakwood with help of your local carpenter. Attach the top of the mantel with ledger board and attach the whole assembly with the wall.
Frequently asked questions
1. Do I need expert help with the process of installation?
Answer: Yes, you need to hire expert to certify your installation even if you know how to install.
2. Where can I buy the tools and equipments?
Answer: You can find them in local store that sells plumbing and fireplace goods or you can contact in home decor service.
Quick tips
1. Place the safety glass in front of surround to prevent accidental contact.
2. Place the receiver of the remote outside the fireplace to prevent fire damage.
3. Fix the vents and gas lines before mounting the fireplace otherwise connecting may get difficult.
4. You can always use the old gas lines. However, install new electric lines every time you install a new fireplace.
Things to watch out for
1. Be careful about accidental leakages and broken wires and gas lines.
3. Make sure personal safety during installation.
4. Make proper alignment of the system to prevent improper burning and exhaust.
5. Certification from local fire safety authority is a must.
6. Fireplace unit should be approved with the Standard of your country.