
There are so many uses of an RGB Lamp today. From mood light drivers to lamps to put inside a pumpkin for Halloween Night, LEDs have given us a wonderful, yet inexpensive solution to a problem many faced when creativity was at stake.
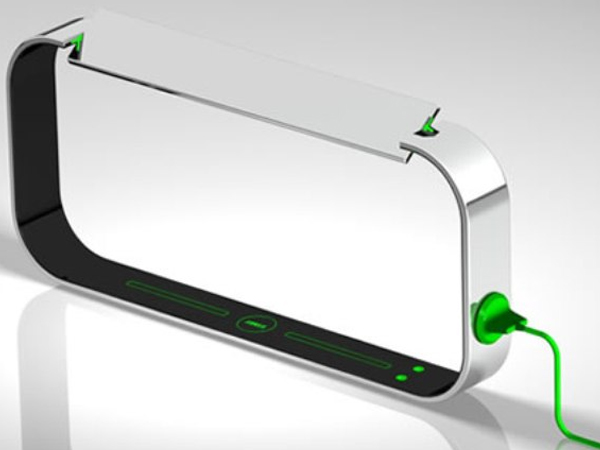
There are a few technical things one needs to know, and this know-how is what would help one’s ideas to materialize. So, for the purpose of helping those who have a lot going on up there, here’s a small guide on how to make a pocket sized RGB Lamp. Though it sounds simple, there are a few things that need to be looked at with care and though your creation may not look exactly like the lamp that the image above shows, it’ll work just the same.
Difficulty level: Moderate
Time required
To create this beauty, it takes 30-40 minutes. Those with an electronic acumen can do it even faster.
Resources required
1. RGB LED. This isn’t very difficult to find; it’s sold at most electronics stores, and neither is it expensive. So one hurdle crossed.
2. A 5 V micro-controller, Arduino being a pretty famous brand, and also something most people are comfortable with. Also get some female headers; they’ll be required to fit the micro-controller.
3. A small tin box, that is capable of housing the circuit and a 9 V battery.
4. A small circuit board (or a proto board, whichever way you’d like to call it); small enough to fit inside the box, but large enough to house the entire circuitry.
5. Three 330 Ohm resistors.
6. A 9 V Battery connector
7. A Fresnel magnifier; you could cut it out of a credit card.
8. Connecting wires
9. A thin film of non-conducting material to line the base of the tin box, so as to prevent anything from short circuiting.
10. You will also need a drill, because at a certain stage, you will need to drill a small opening into the lid of the box.
11. A computer is an absolute requirement; we would be needing it to program the micro-controller.
Now that we know what we need, getting to the next step – the actual procedure, shouldn’t be difficult.
Instructions
So here’s what you must do, step by step.
1. First, position the female headers and the micro-controller on the board; pick a convenient spot to fix them. Next, slide the micro-controller into the female headers, and ensure that they fit well. Also ensure that the micro-controller pins don’t move beyond the circuit board – this may cause a short circuit.
2. Next, position the RGB LED, so that it stands a little toward the center of the length of the tin. Mark the place if required. Use a little electrical tape, so that once you flip the board for soldering, the components don’t fall off.
3. Solder the components carefully, and remove the electric tape. Following that, snip the extra leads, again as a preventive measure, to stay away from any short circuit.
4. Once this is done, it’s time to connect the resistors. The resistors must be connected along pins 9, 10, and 11 of the micro-controller. One end of the resistor must be connected to the anode of the RGB LED. Next, the cathode is to be soldered to an empty part on the circuit board.
5. Now, we get to the grounding part in the circuit. There is a ground pin on the micro-controller and this must be connected to the cathode of the RGB LED.
6. Next comes the on/off switch that helps with the circuit operation. The terminal of the switch is connected to the positive terminal of the 9 V battery. And the negative terminal of the battery is grounded where the cathode of the RGB LED ends.
7. Clip off all the extra lead ends. The soldering must be checked once before power is supplied.
The box is easy to make. Just drill a small hole, suitable to fit the RGB LED, and keep in mind the position of the LED on the board while cutting out the hole.
Quick tips
1. Don’t know how to dispose of the extra lead ends without losing them first? Stick them to a piece of electric tape you were using. It helps quite a bit.
2. When trying to earmark a location for the different components on the circuit board, please don’t hesitate, or feel small, about using a marker. It makes things simpler.
3. Use a low voltage soldering iron. This will ensure that the components you use don’t get damages because of the high voltage.
Things to watch out for
1. Please make sure than none of the lead endings touches the tin box. This could ruin the circuit completely.
2. The circuit board that you choose should fit well inside the box; if it’s too small, it’ll keep moving, and if it’s too big, then it just won’t sit well in the box.
3. Choose your resistors well. Take care of the voltage you’re using, and calculate the resistance using the formula V = IR.