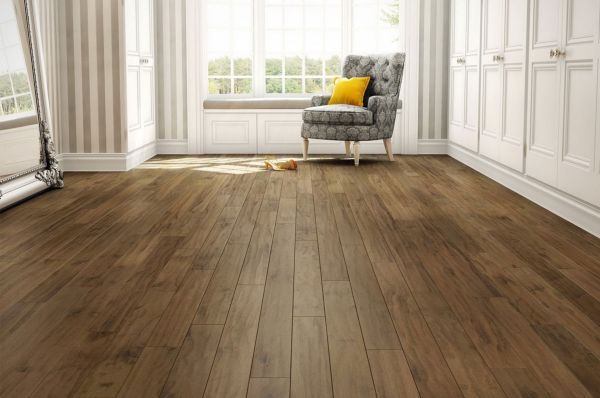
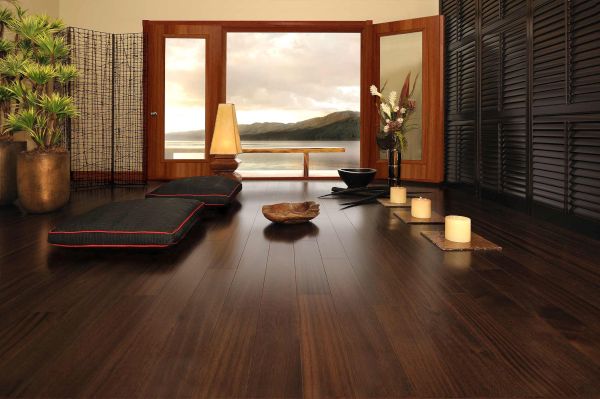
You take pride and feel happy to see hard wood flooring in your home and one day to your dismay, you happen to trace few defects. Most of the times the defects surface on hard wood flooring owing to the improper moisture conditions in the wooden subfloor.
This condition calls for moisture testing, which plays an integral role to safeguard hard wood flooring from all sorts of damages caused by moisture. This article intends to enlighten you about moisture testing for floors so that wooden floors continue to serve you long without any problems.
Types of moisture meters
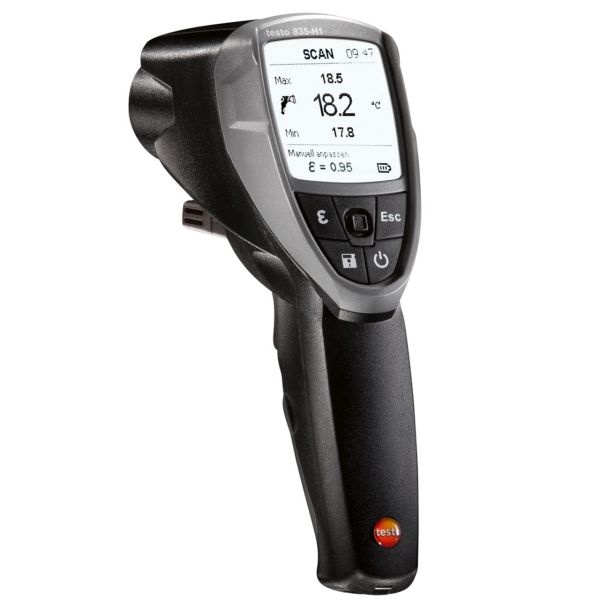
Two types of moisture meters determine the moisture content of wood subfloors and give green signal or a red one depending upon moisture level.
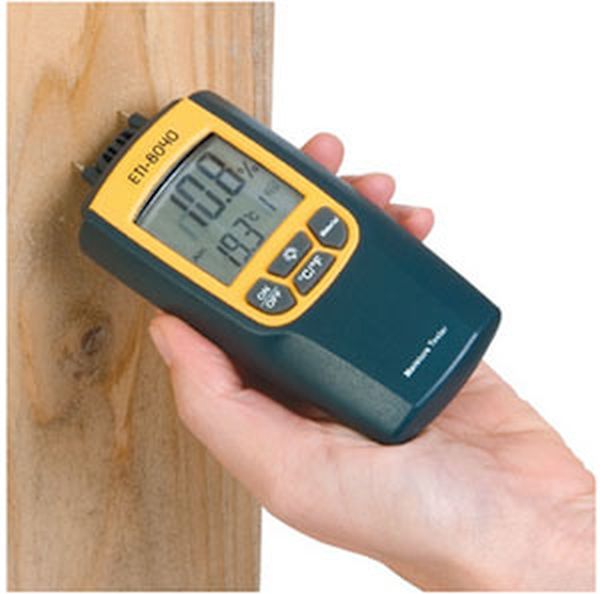
- The Pin style meter
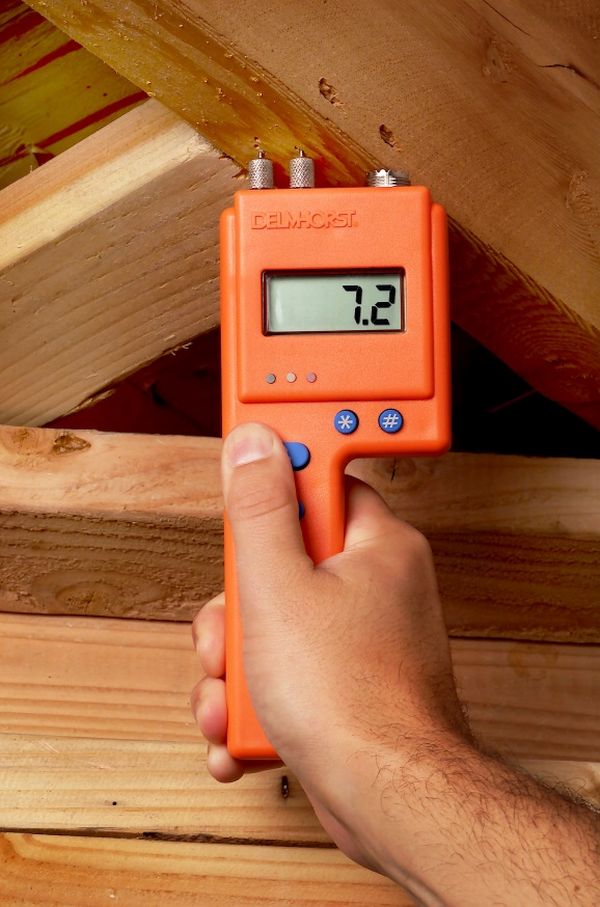
When inserted into a wood panel, it shows the moisture level of wood using electrical signals and through its pre-programmed settings that are different for different wood species. You can insert these meters with longer pins to check the moisture level in the depths of wood planks.
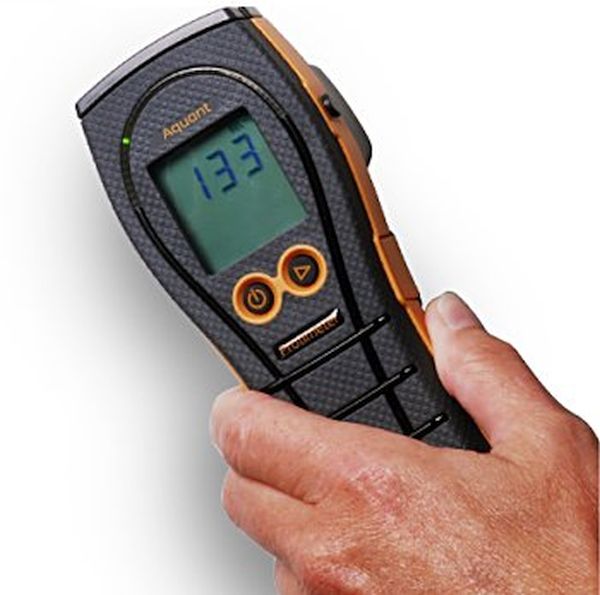
- The pin less meter

These use electromagnetic signals to measure moisture content of a wood. This meter allows users to get a quick and an accurate reading of the moisture content. Both the meters have their own advantages and disadvantages. Whichever meter you use, you have to make sure you get an accurate moisture content reading so that you take a wise decision regarding the final flooring installation.
Symptoms of changes in wood moisture
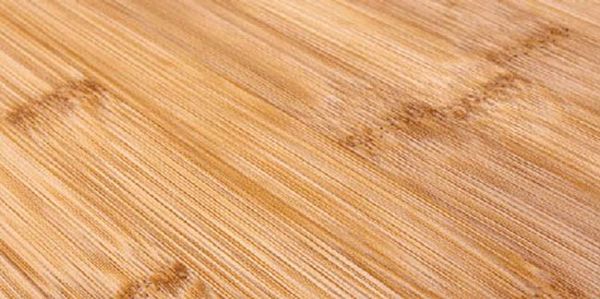
Hard wood flooring that looked majestic a few days back and today is full of defects, the most probable reason behind is the change in the level of wood moisture. It happens when people do not go for a proper moisture testing. Even a slightest change in the moisture level between subfloor and the hardwood flooring can cause:
- Cracks between wooden planks: Despite the fact that you installed wooden flooring properly it starts showing some cracks on it. Wood starts to shrink when it is exposed to a high level of humidity.
- Crowning: When you notice the center of the floor planks has become higher and the edges are lower, it is the case of crowning.
- Cupping: You look at the wooden floor against light and you see the center is lower and the pulled-up edges.
- Buckling: When crowning becomes severe, it lifts the plank few inches off the floor, and the condition is known as buckling.
Useful tips for moisture testing wood floors
Keeping these tips in mind, you can test wood floors for their moisture level getting accurate figures every time:
Use right meter
Different meters are designed to measure moisture in different floorings, so using one meter for numerous floorings is a foolish mistake to make. Use wood meters to test wood and concrete meters to test concrete, or else you will end up retrieving incorrect readings that might prove disastrous for your flooring.
Inadequate readings
Sometimes contractors feel that measuring only a small portion or segment of flooring is enough to test it for its moisture level. Continuing further with this perception, such contractors usually get incorrect information because the moisture test can never be done on a particular portion but the entire flooring.
Inadequate knowledge of MC
One can read and understand a moisture meter’s readings only if one knows what MC (moisture content) is acceptable in a particular area. For example, 12 percent moisture content is normal for a particular area, and abnormal and problematic for another area.
Wood flooring looks gorgeous in homes but it brings with itself a fair share of moisture related problems. One need to keep a few useful tips in mind, which help keep moisture troubles at bay.