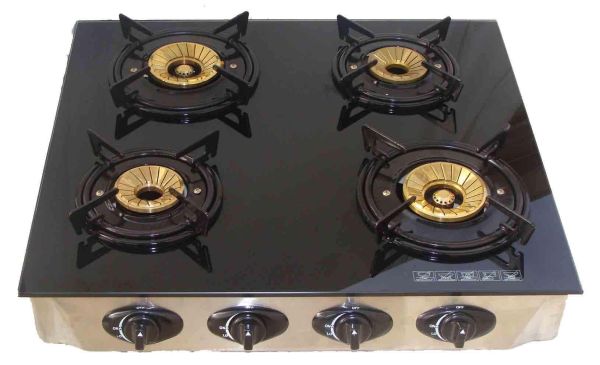
Installing a gas stove doesn’t require genius but it does require concentration and attention. The gas used in the stove is highly inflammable and proper installation is essential to prevent any leakage so as to prevent any major accident. Keeping this in mind that even a single spark even by switching on or off the lights in the kitchen can be prove to be detriment in case of leaking gas. It is imperative to consider the type of gas stove that suits your needs as well as the space it will occupy your kitchen area before you proceed for installation procedure. Here are the steps for the installation of the gas stove that will help your stove works efficiently for years to come.
Difficulty Level:
Moderate
Time required:
Depends upon the efficiency of the person and the capability of using the tools
Resources required:
- Teflon pipe tape
- Dish washing liquid
- Water
- Small cup
- Adjustable wrench
- Small paintbrush
- Small mirror
Estimate Cost:
It depends upon the material you are using, although most of the resources required are available at home.
Instructions:
Step 1: You need to locate the gas line in your home. in most of the cases the line’s outlet looks like a corrugated hose that protrudes out of the wall with a valve indicating on/off. if this is not the case there may be a pipe protruding out of the wall with the protective cap on it and a valve indicating the ‘off’ position. In case you are unable to locate the gas point in your room to put your gas stove on then you need to contact a professional and must avoid taking chances.
Step 2: Once you have located the gas point you need to make sure that the valve is in the off position before you can remove the cap from the pipe. You need an adjustable wrench to rotate the valve to the off position.
Step 3: Now you need to test the gas stove line for its compatibility with the gas point on the wall by trying to screw it on to each other. In some cases you need a special attachment that is required to screw one side to the gas stove line and the other to the wall opening. You need to contact your nearby hardware store to get this unit for intermediary attachment.
Step 4: it is time to unscrew the gas line as well as the stove line. to prevent any accidental leakage tape the male end of the hose pipe threads at the end with the Teflon pipe tape.
Step 5: Screw tightly the female hose over the male hose and use the adjustable wrench to make it tight enough to fix completely.
Step 6: Take one small cup of water and mix one teaspoonful of dish washing liquid in it.
Step 7: Turn the valve of the pipe to ‘on’ and with the help of a small paintbrush spread this mixed water and dish washing liquid on the joints of the pipe on all the sides. Check for the formation of bubbles (if any). Use the small mirror to check the lower side of the joint too.
Step 8: If you find any bubbles forming on any of the joint area you, it indicates the leakage of the gas. Turn the valve to of the gas pipe to the off position and you need to repeat from the step 4 over again.
Step 9: Even after repeating the steps again you find gas bubbles forming you are advised to call your gas agency/company. If there are no bubbles formed after testing then the gas stove is properly installed. You just need to turn the pilot light switch to on position as mentioned in the user manual of the gas stove and the stove will burn on.
Frequently asked questions:
Q. Can I install the gas stove alone at my home?
A. Installation of gas stove is an easy task and does not require any professional training. but in case of detected leakage you need to contact a professional.
Q. What if the gas stove pipe line does not fits the pipe on the valve?
A. Sometimes the a junction point is required to join the gas stove pipe and the wall outlet pipe. you have to contact your hardware store to get this unit.
Quick tips:
- Do not bend or crease any area of the gas line. This may cause the line to leak.
- Always check for the leakage of the gas while installation. in case of leakage immediately switch the valve to off position and call you gas agency/company.
Things to watch out for:
- Keep in mind to use the Teflon pipe tape before screwing the male and female pipes. This is important to prevent any gas leakage.
- Always check for any gas leakage with the help of a dish washing solution prepared as mentioned above.
- In case of leakage immediately contact your gas agency/ company.


