So you are really keen on installing LED lights underneath the kitchen cabinets in your home but have no idea on how to get them done? Well, here’s a step by step tutorial that can help you with just that.
Choosing the brightness
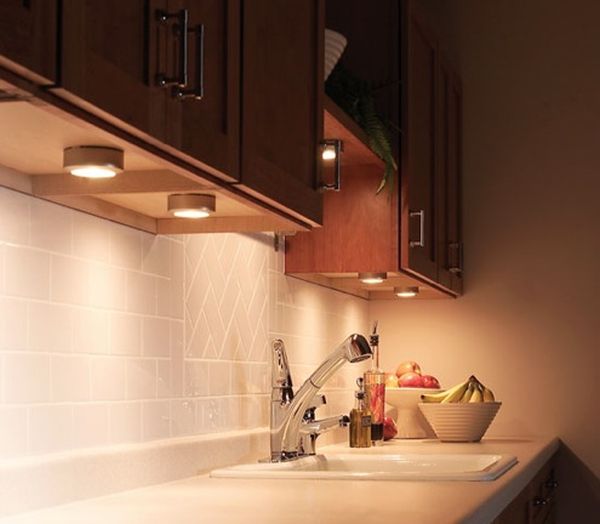
Your first step is to choose the appropriate brightness you would need for the light and choose the LEDs accordingly. A standard advice dished out by experts is to always go for brighter LEDs and then soften their brightness with a dimmer. This would help you enjoy the best light for both tasks and highlighting accents.
Choosing the power supply
You would need to choose which power supply the LED light needs to be attached to. Always choose a supply that offers a 20% extra load above that you are already using in order to power up the lights properly.
Test the lights before Installing
Nothing can be worse than installing the LED lights underneath the cabinets and the finding out that they don’t work. So test a small portion of the strip first to check if it lights up. If it does, well and good. If it doesn’t though, check for any connection issues. If you can’t find any, consider changing the strip completely.
Measure and cut
Next, measure the length of the kitchen cabinets to find out exactly how many feet of LED strips you would require for the job. Cut the strips with scissors to prepare the strips for installation. Note that in most LED strips, you would be able to cut the strip only at the evenly spaced markings.
Add power connection to the strips
Once you have cut the LED strips to the correct length of the kitchen counters, move onto the next step of supplying power to these strips. Attach a low voltage wire from the power supply to the start of the strip (at the first run of lights). Connect the positive/negative wires accordingly and fasten them together with wire nuts.
Connect across corners with strip-to-strip solderless connectors
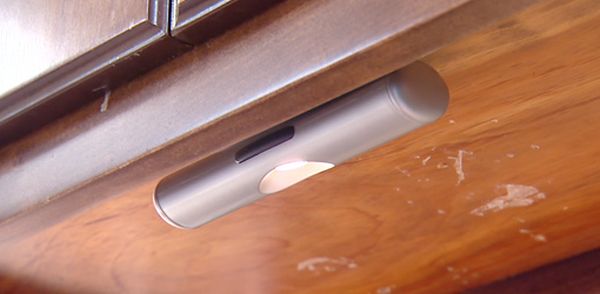
You would need to ensure that the LED lights remain connected as they snake around the corners of the cabinets. To do this, fasten the two individual LED strips (leading to the corners from both ends) with a strip-to-strip solderless connector. This would help you connect the first and second run of lights together to keep the connection active. You can also use these solderless connectors to attach two individual LED light strips that run down the length of the cabinet (in case it is longer than 16 feet).
Do the final test before installation
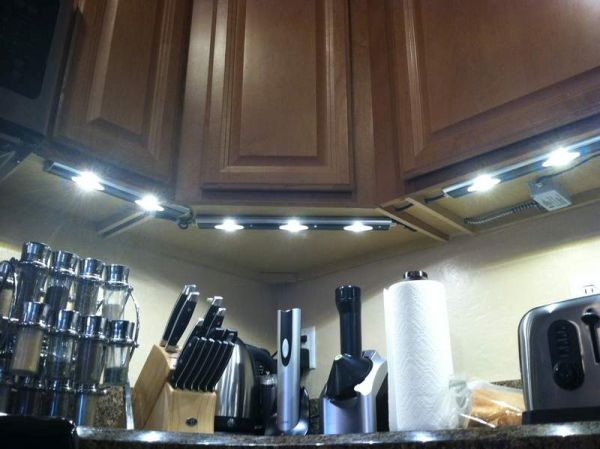
After connecting all the individual LED light strips to create one cohesive unit, test it to see if it works properly. Check for loose connections or any other issues that may cause the strips to not light up when current passes through them, or glow dimly.
Fix the LED strips underneath the kitchen counter
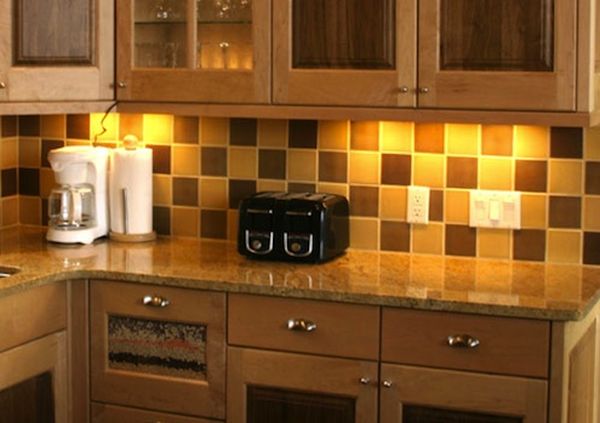
Clean the area underneath the kitchen counter. Use a tape or adhesive to fasten the LED light strips to the surface. Some LED light strips come with their own adhesive backing. All you need to do is simply peel off this adhesive and stick the strip in a straight beneath the counter. Carefully work your way across the entire length and breadth of the cabinet, be extremely gentle with the strips lest you pull them apart and break the connection.
Install the dimmer
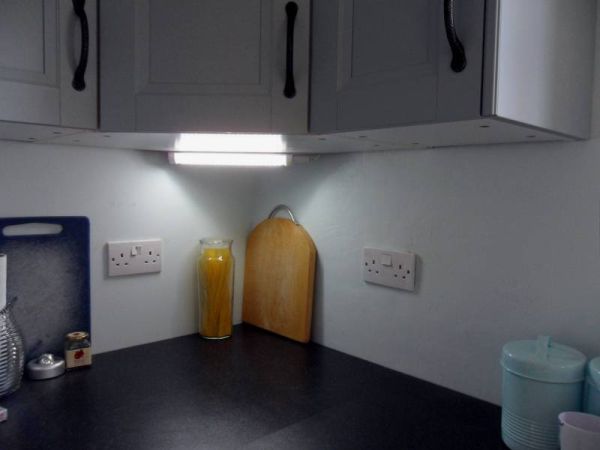
With the lights installed, your next and final step would be to install the dimmer. Connect the power supply wire to the dimmer and secure the connection nicely. Once this is done, switch on the lights and test the dimmer to check if the lights dim and brighten as asked. And that’s all there is to it! You have your very own DIY kitchen cabinet LED lighting system.
Summary
Installing LED lights underneath kitchen cabinets is not that hard a task. Keep the basic tools handy and follow this tutorial to see how you can go about fixing LED lights beneath the cabinets.


