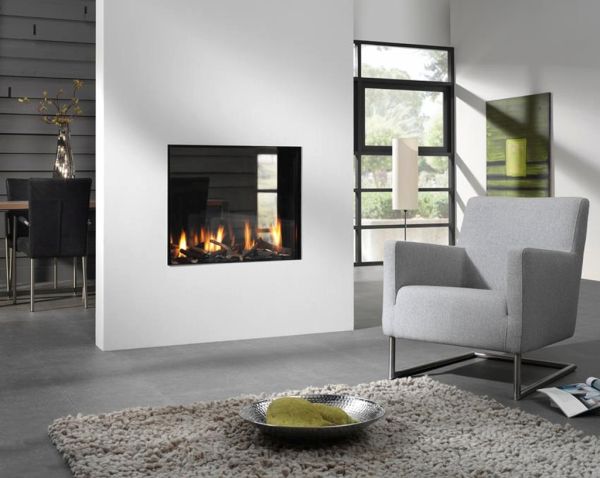
Stuck with a really big hall or room that you have no idea what to do with? Simple, consider dividing it into two rooms with the help of an interior partition wall. A partition wall is different from other walls in that is does not support any weight, but simply serves to separate one section of a room from another. You can easily build your own partition wall at home by following a few very basic pointers and guidelines, including the ones given below.
The elements required for an interior partition wall
An interior partition wall would need a wooden frame along with studs for support. You would also require top and bottom plates as well as a tie plate to connect to the adjacent walls. You would need to maintain a gap of 16 inches between the stud centers in order to install cement, stone veneer, tile or drywall sheets in between.
Pointers to note when constructing an interior door frame
If it is a new construction, you can use the frame and stand construction technique to install an interior partition wall. If it is merely an addition to a house however, you can simply build a wall separately and then frame it in place.
Partition walls usually do not contain windows. However, they do have doorways. This necessitates rough in framing which would require you to install a header that would rest on the jack studs located across the top of the doorway.
Note that even though you can build a partition wall anywhere in your home, the top and bottom frame would need to attach to something that is sturdy enough to support the wall. You can either choose to nail the wall into the ceiling joists (in case of perpendicular construction) or install overhead blocking (for parallel construction) for the required support.
Building the Partition Wall
Step 1: Using a stud finder and pencil, locate and mark the studs in the walls and ceilings.
Step 2:
Choose where you want to erect the partition wall. Ensure that the position you choose allows the wall to be either adjacent or perpendicular to a ceiling stud. Make sure that the connection from wall to the partition occurs at a wall stud as well.
Step 3:Measure the entire length and height along the area where you want to erect the hall. Increasing heights at certain levels would warrant you to measure accordingly in order to avoid mistakes later on.
Step 4: Draw a sketch of the partition wall on a graph paper. Note that you will have a top plate and a sole plate that will run along the length of the wall at the bottom and top of the frame respectively. Use 2 by 6 inch boards for the same purpose for extra support.
Step 5:Use a pencil to mark the location of the studs. While the distance between two stud centers needs to be 16 inches, the height of each stud would be the same as the height of the room from floor to ceiling. Reduce 4 inches from this measurement for the required stud height.
Step 6: Position the stud’s sole plate against the wall at one end of the partition while the last stud will be positioned at the other end. Make note that the last stud will feature two studs that would be joined together via a 4 by 6 inch wooden beam.
Step 7: Plan the wall covering: Now that you have the studs and beams in place, the finals step would be to measure the amount of wall covering you would need. An exact measurement would be a figure that is equal to the tallest measurement times the length of the sole plate. Multiply this result by two and note it separately. Now add the area of the wall’s width to this figure to get an estimate of how much material you would need for wall covering.
Installing an indoor partition wall is not a hard task provided you have the basic know how of how to get it done without any hassles. These tips will help you in your project for sure.