The simplest way to give your average kitchen a fabulous makeover is to install a backsplash. The backsplash not just protects the kitchen walls from speedy decay and dampness but also beautifies the cooking space. You can find innumerable varieties of kitchen backsplash tiles in different materials like glass, ceramic, porcelain and stone.
Different types of backsplash tiles require different techniques for installations. If you are used to undertaking DIY household projects then you may consider installing the backsplash on your own. Of course, for that the backsplash tiles have to be less fragile and user friendly. Here you will find guidelines for installing standard size of kitchen backsplash tiles.
Start by preparing the wall
Start by gathering all the tools and materials that you will need. Keeping the materials and tools handy will help you get on with the task quicker. Before starting, you should measure the backsplash area twice and check if you have sufficient mortar, grout, and tile for the job.
Running out of materials can cause unnecessary interruption when renovating your kitchen. Remember that thinset mortars need to be readies by mixing. Get premixed mortar to save time and energy. The good quality pre-made mortars are ready to use and it simplifies the entire procedure.
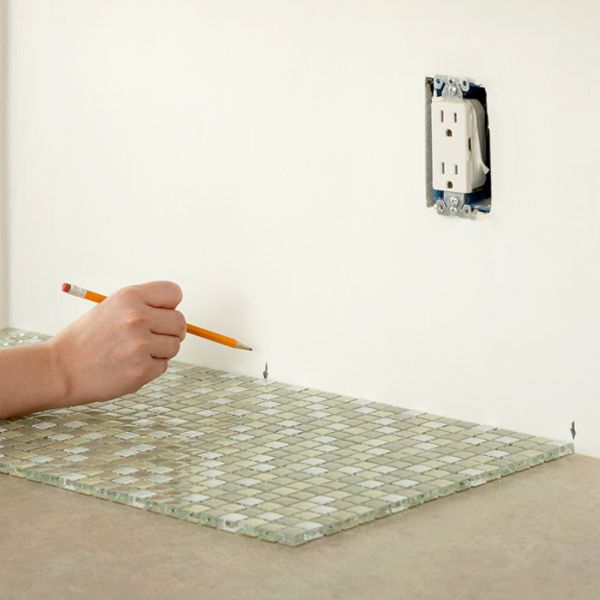
After getting the tools, remove the switchboards and other outlets (if any) from the area where you intend to install the backsplash. Get 80-grit sandpapers to rub the surface and make the painted surface rougher. Remove the dirt with the help of a wet rag. Mark the central or focal point and then use a 2-foot level for drawing a plumb line through that focal point.
Cover the countertop with cardboard pieces for protecting it from debris and dirt. For light shaded tiles, using a white mortar would be advisable; but before using mortar, make sure that it works well with the tile of your choice.
Prepare the mortar
If you are using natural mosaic tiles, then use a thinset-powdered mortar for better finish. You will get the manufacturer’s instructions along with the thinset powder. Read it carefully and fill a bucket with water accordingly. Mix the thinset powder in the water carefully. Let alone the mixture for around 10 minutes to stir and mix it again. In some cases, you have to use the mortar almost immediately, while you can use other varieties of mortars even four hours after the preparation.
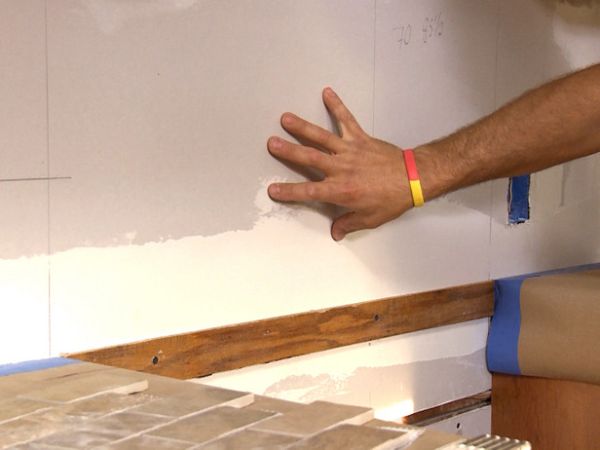
Start applying mastic methodically
Use a V-notched trowel for scooping up thinset or mastic and applying it on the wall. You have to hold the tool at the right angle to its long edge. Cover the area that is sufficient for around eight tiles. When you are done, find the empty spaces and fill them up as well.
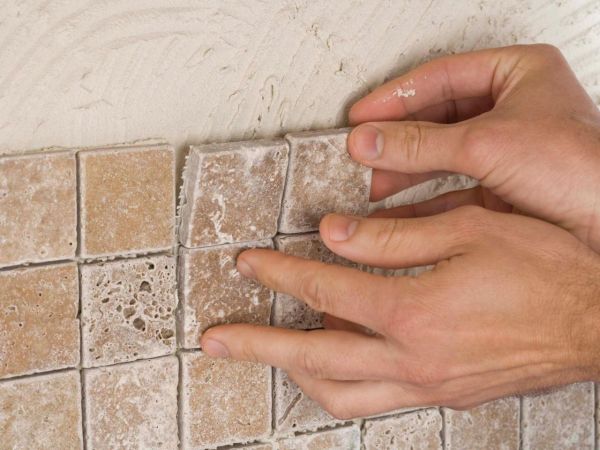
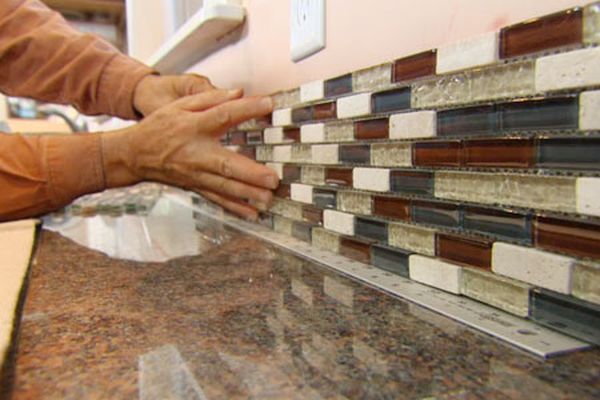
Setting the tiles

Start placing the field tiles at the base of the wall. You have to make sure that the bottom of these tiles is parallel with the countertop. Not aligning the tiles with care may ruin the look of your backsplash. You have to press each of the tiles on the mastic firmly; else, they will not set properly.
You may have to trim some of the tiles according to the available space. The score and snap tile cutter can help you cut and shape tiles as needed. Follow the instructions of the manufacturers and give some time to let the mortar and tiles dry.
When you apply grout, use a grout float for it and remove the excess with a wet sponge. When the grout dries, you should use the grout sealant for safeguarding your backsplash from water stains.
Installing kitchen backsplash on your own requires some DIY skills. Follow each of the steps carefully and use colorful tiles to make your backsplash look unique.