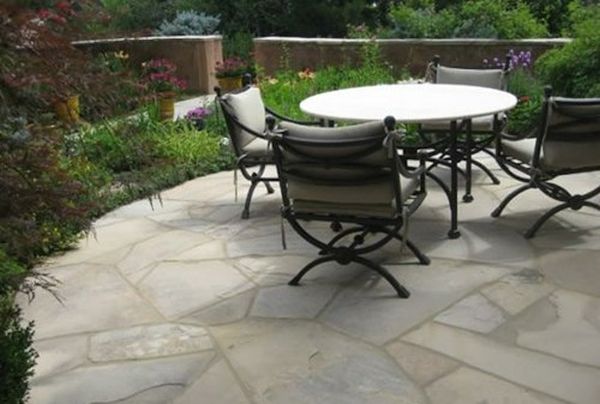
A flagstone patio is all the rage because it looks far more beautiful than a patio covered in plain and boring grey rock pieces or tiles. If you want to remodel your patio with a flagstone patio, here are the DIY steps you can follow.
Leveling the surface
The first thing or the first step towards making a flagstone patio is to have a flat and a level ground. Choose such an area in your backyard, and in case it is not flat or leveled, you will have to level it on your own. While leveling you will have to uproot all shrub roots, trees, and remove debris like stones that might become a threat for your flagstone patio.
Thinking flagstone layout design beforehand
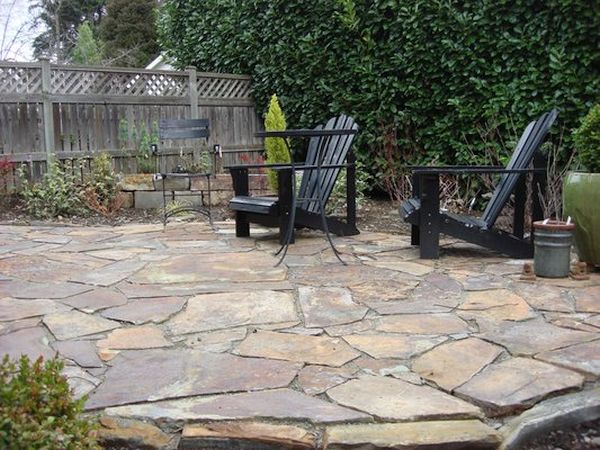
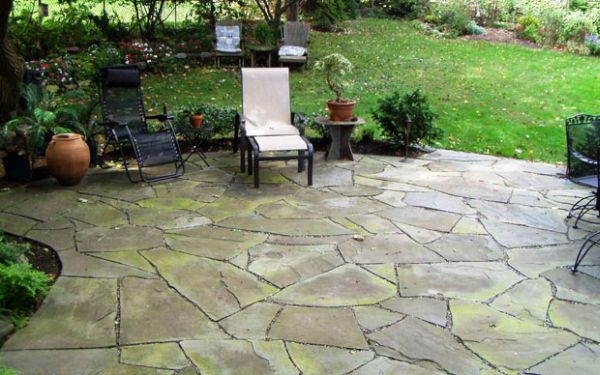
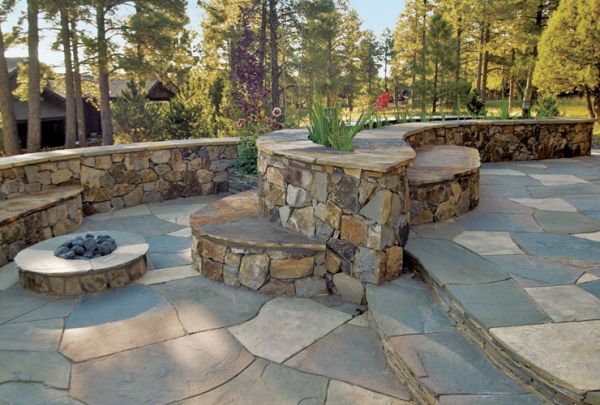
Flagstones are already such natural looking and extremely beautiful stones. Even if you will place them in an utmost disorderly manner in your patio or on a pathway, they will still manage to look drop dead gorgeous.
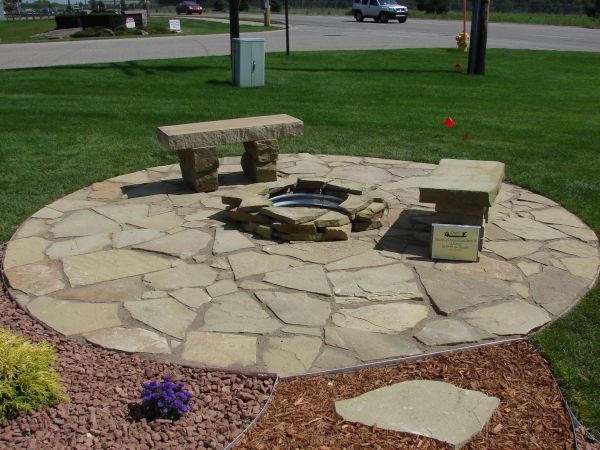
It is owing to the charm of the natural beauty they have but still you can place them in a number of different designs and patterns. You can lay flagstones in a grid, or a circular pattern, or use different shapes and sizes of stones to create your own patterns using your creative side.
Creating a flagstone bed
You cannot just lay flagstones on the flat surface but you have to dig 3 inches deep from the ground level. Dig and remove around 3 inches of soil, remove extra soil and then level the bed. This excavation and making of a flagstone bed have two main purposes to serve, to give firmness to the flagstone layout and to give proper drainage to water permeation that flagstones allow.
Filling the bed
Once excavation and leveling is over, there comes the next step, i.e. to fill the bed with sand. You have to fill the bed carefully, as you have to leave a one-inch space at top after filling the bed. Therefore, keep a measuring tape handy while excavating and filling so that you end up neither excavating more nor filling up less. The one-inch space at the top is for the laying of flagstones, so that they are at the same level with the ground, neither too low nor too high.
Tamping the Flagstone Bed
Once you are done filling the flagstone bed, you have to damp the entire bed surface. Damp it well so that no portion is dry and then do the tamping. Tamping is the process to press or compress the soil using tamping tools to ensure it is firm enough and would not leave its place when pressure is applied.
Laying Flagstones
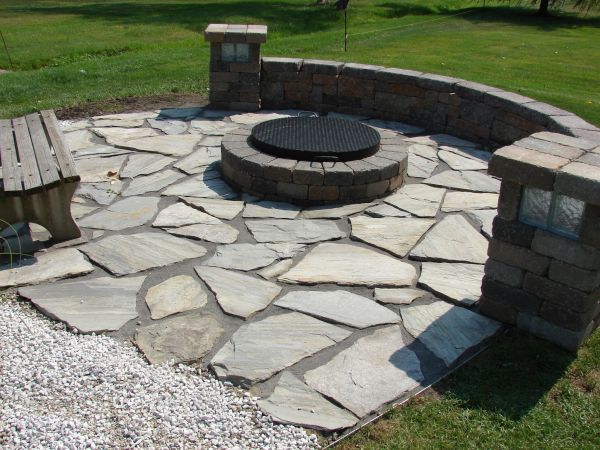
The best way to lay flagstones is to start from the outer end and moving towards inner ones. Beginning with the outer edge and then progressing towards center makes design making much easier.
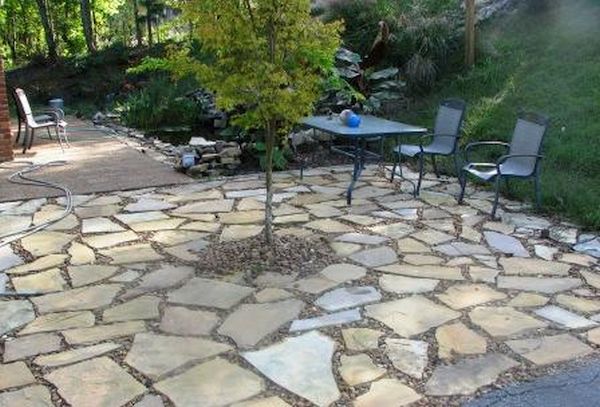
One more tip that will come handy while laying flagstones is to place the larger pieces on the outer edges, smaller ones in the middle and the smallest in the center of your flagstone patio design. You can chip or break the larger ones to create small pieces that you will use to fill the gaps.
Giving it a finishing touch
After placing the flagstones well, you will see some spaces in between the stones that you will have to fill with sand. Simply pour some sand over all the stones and with a broom or a brush sweep them nicely into the gaps. This way the gaps will be filled and when you will tamp and water that sand in the gaps, it will become firm enough to support the structure. You can then grow small grass in the gaps filled with sand that looks too beautiful, or leave them as it is.
Attractive designs and functionality make a flagstone patio much sought after. Here are some ideas to achieve it the DIY way.