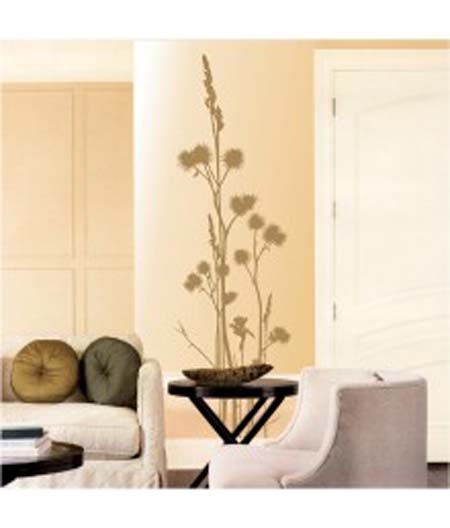

Home decoration has now become so much easier and fun with wall decals. They are not only pretty, quick to apply but can really revitalize your home with unique designs of your choice. It is always nice to add something new and fresh to your walls other than the usual paint and wallpaper. The wall decals are made of vinyl material and are like stickers, which can be easily removed without causing any damage to the wall paint. Since they are not permanent, you can experiment with many patterns and colors to bring some vibrancy into your living areas. Try using these wall decals if you are working on a low budget decorating whim.
a. Preparing to apply the decal
You will require a sheet of decals of your choice, a ruler, scissors, smoothing tool or a piece of plastic card and low tack masking tape. Having assembled your materials, you will need to ensure that your walls are clean and dry before the decals go up. If your walls are not even or you have very old painted surface, then you might need to do some touch up prior to application of the decals. Start by making your markings and measurements on the wall as and where you want it placed.
b. Instructions for applying the decal
1. Three layers in a decal
There will be three layers in the decal, of which the transfer paper will look like a white masking tape. The decal itself with the pattern will be the central layer and the backing paper will come behind the decal.
2. Start peeling the backing paper
You begin by removing the backing paper, leaving the decal with the transfer paper. You must take care that you do not remove the transfer paper until your decal is placed where you want it. Then gently start smoothing out your decal from inside middle to outward with a plastic card, so that all air bubbles are removed from the decal.
3. Remove the transfer paper
Once you are satisfied that your decal is all smooth and even, gently peel away the transfer paper form the decal. You have to take care that you do not peel the decal along with the transfer paper.
c. Applying decal to plastic, glass or metal surface
1. Clean surface
First of all, take mild mixture of water and soap in a spray bottle and clean free any debris or dirt from the surface.
2. Application method
Use the same method in peeling the paper backing away and then soak the adhesive side of the decal and transfer paper with the same water and soap mixture. Soak the surface of the place where you want your decal placed and then stick the decal there. If your placement is wrong, you can easily move your decal as the water mixture on the surface will enable mobility.
3. Smooth it out
Take your plastic card and gently smooth out the surface as in the same process for applying on wall. The adhesive will not only stick better but all air bubbles will be removed from the decal. Once this is done, allow the decal to dry along with the transfer paper on it.
4. Your decal is fixed
Once your decal is dry, gently peel away the transfer paper starting from one corner and working out gradually. You can keep smoothing out your decal and removing any air bubbles and let it dry for more time if your decal is coming out with the transfer paper.
Wall decals make for really eye catching patterns on the wall and will make a great impression on people. It will also spice up your home decor and you can change it again if you get bored with it.