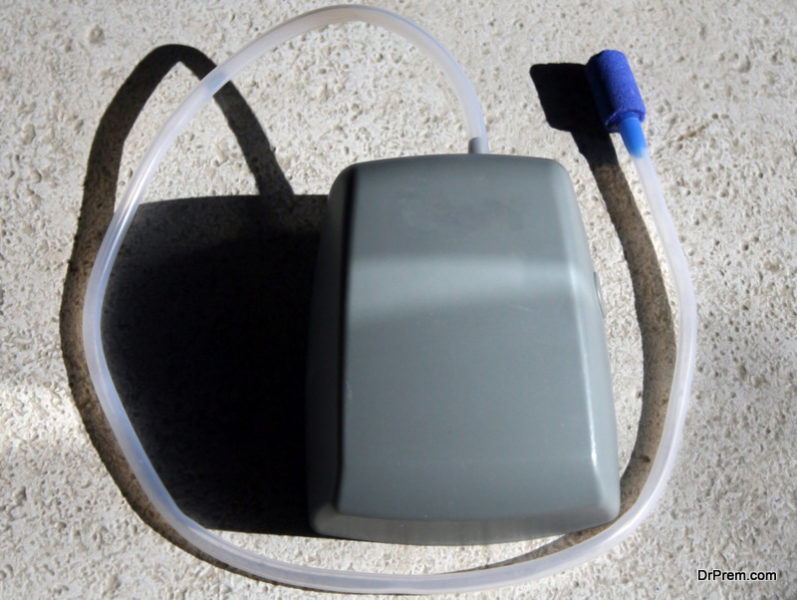
Making filters at home might sound a tricky task but surely isn’t if you follow the instructions carefully and work in a stepwise manner. making and maintaining aquarium need filters that play the major role in removing both physical and chemical waste from the aquarium. Aquarium filter cleans the water by removing fish waste and the food residue and other waste material. The aquarium filters available in the market are expensive and depends on electricity but the homemade filters are affordable, easy to make and electricity is not required in them. Homemade filters work on air displacement method. They can be used with or without air pumps. Air pumps are attached when high flow is needed and without air pumps these homemade filters can clean 40 gallons of water in an aquarium. This can be used for fresh water or salt water aquarium.
Difficulty Level: Easy
Time required: 5-6 hours
Estimated cost: $ 20(approx)
Resources required
1. Gravel
2. Empty plastic bottle or pop bottle of 2-liter
4. Air stone
5. Ice cream container or any other rectangular container of plastic.
6. Air pump (optional)
7. Hobby knife of 7/8” or scissors
Instructions
1. Take the pop bottle of 2 liter and cut it into half with the help of the knife or scissors. Discard the lower half and cap of the bottle. Along the cut edge of the bottle on the upper half cut V shapes.
2. Now take the ice cream container and place the cut end of the pop bottle into it. Then lead the air line from pop bottle to ice cream container and from the air line in the pop bottle attach the air stone.
3. In order to safe guard the pop bottle and air line, you need to surround it with gravel. Fill the gravel till top in ice cream container.
4. Adjust this into an aquarium in such a manner that the free end of the air line is outside the water.
5. The filter starts working as the air bubbles start rising out of the air line and the water in aquarium filters out through the gravel capturing the impurities. The air displacement gives power to the filter.
6. You need to clean the filter when water becomes dirty and the functioning of the filer is reduced. In order to clean the filter, you need to disassemble it. After disassembling proper cleaning of each part is required. The clean parts are reassembled again and fixed in an aquarium.
Quick tips
1. The frequency to change the water is reduced by using the filters in an aquarium.
2. Gravel sucks out the water and filter it in an aquarium.
3. For high flow of water in an aquarium, an Air pump is a must.
4. Free end of the air line should always be out of the water. It should never get submerged.
5. Other filtering material can be added to gravel like sponge, carbon etc.
6. Filtration units of different sizes can be made by using plastic bottles of different size.
How to clean your aquarium/ fish tank
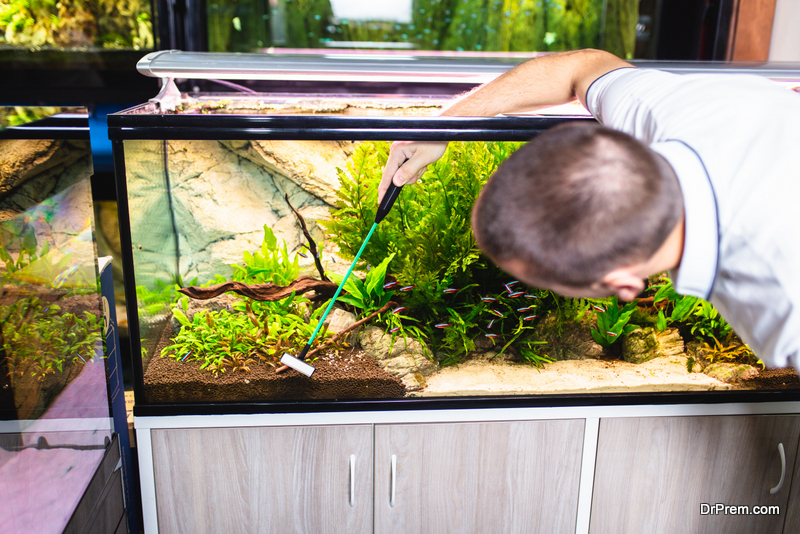
 Maintaining and keeping an aquarium with beautiful fish is a hobby for many. It needs some effort and knowledge to set up a beautiful aquarium. This includes feeding and cleaning the aquarium every week. By following a specific trend in time the marine species respond properly. If we follow an erratic schedule then this may affect the living conditions of the fishes and they may die. In an ocean, river, lake, etc the ratio of the fishes to water is in millions as compared to an aquarium and the fish wastes and other decomposing organic matter are completely dealt everyday, thereby maintaining of near perfect water quality. Aquarium in the other hand is a closed system and it cannot run without maintenance. Larger aquariums need less maintenance. Smaller ones require more maintenance because they tend to get dirty easily.
Without proper cleaning and maintenance, the water becomes hard and the wastes build up inside the tank. This affects the water pH level causing the fish to die. Studies say that all freshwater aquariums require at least 25% water change, at least once a month. Removing the organic matter and wastes will benefit the fish and improve the overall look of the tank.
Requirements
- Siphon and gravel vacuum
- Clean bucket or large bowl
- Algae scraper
- Cloth piece
- A notepad with pen for preparing a checklist
- Properly prepared water for replacement.
- Filter cartridge (if you want to change the existing one)
Difficulty Level
Easy for experienced, moderately challenging for freshers.
Time required
1 hour approx.
Instructions
- Make a timetable of your cleaning on a weekly basis. Make a checklist of all the things that you will require during the cleaning process. Make sure that everything you need is available and handy. If you are a newbie then list down all the steps in your notepad so that you don’t miss out on any step.
- Turn off and unplug the tank’s filter and attached electric components before starting the cleaning process. Do not shift the tank from its original position. Arrange for proper lighting.
- Wash your hands clearly before putting into the water. Wipe your hands with a clean towel or cloth piece and keep the cloth near your tank. Next comes changing of the water. If you follow a regular schedule and the fishes are healthy then around 10-20% water change is considered enough. In case if the cleaning is delayed by some weeks then the percentage can be increased. Check and confirm before proceeding. Measure the amount of water that you would be replacing because that much of equal amount of fresh water would also be required after proper treatment for adding back into the tank.
- Direct the water by starting the siphon and leading the water into a big bowl or a larger bucket depending on the size of the tank. The bucket should be clean and free of any soap or chemical solution.
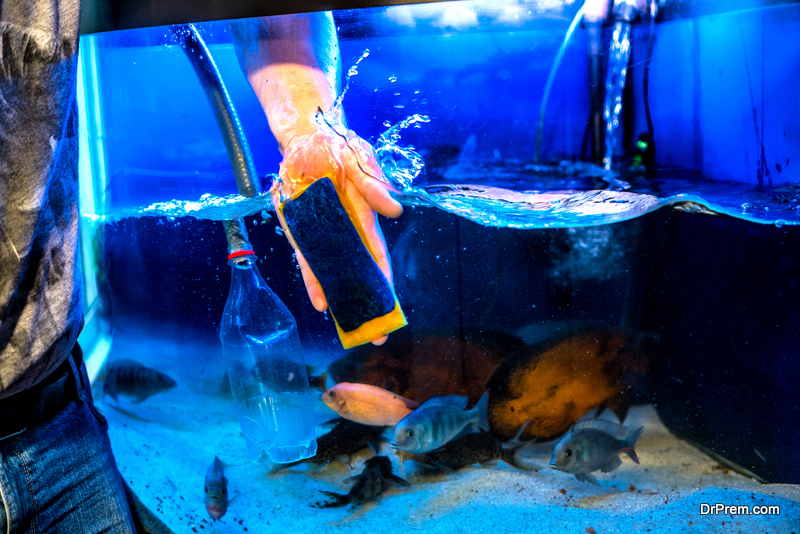
- With the help of gravel vacuum, suck in the fish wastes, excess food wastes, and other present in the water. Carefully hold the hose part of the siphon, not the plastic tube, an inch below the surface and carefully suck the waste without disturbing the sand layer.
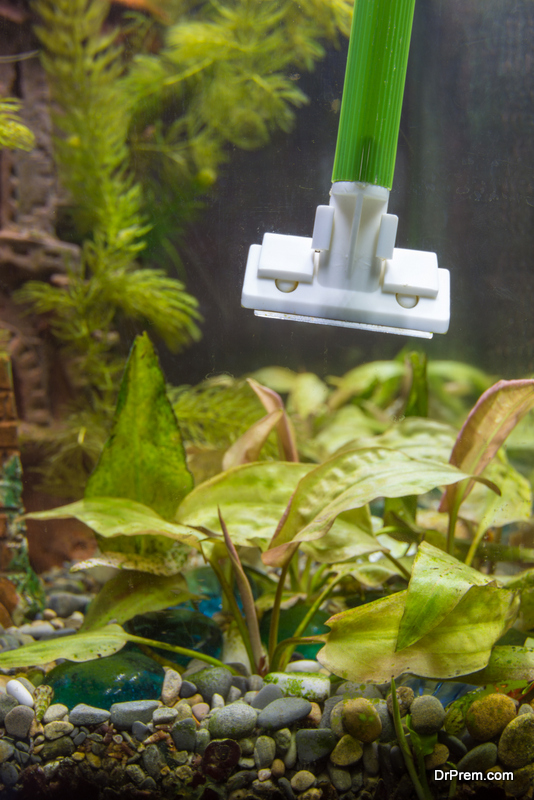
- Excess algae grow when we add excess nutrients in the water. Thus it’s always advised to add correct proportion of fish food to the water every day. Carefully clean the decorations inside the tank. Use an algae scrubber to remove algae from within the tank.
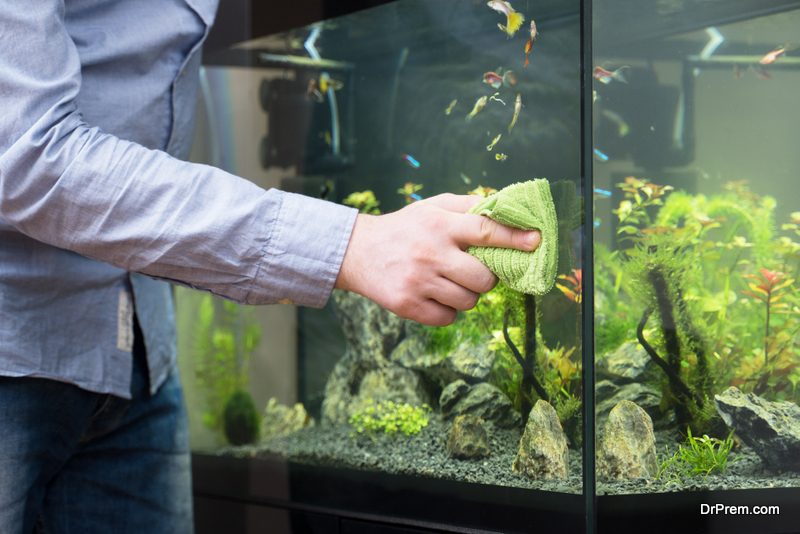
- After cleaning the inside, clean the hood, light, tank top, and outside glass. Avoid using glass cleaners. Use vinegar or aquarium designated cleaners.
- If you want to do any addition or changes in the interiors then do it.
- If you are cleaning the tank on weekly basis then do not change the filter cartridge. Only basic rinsing is required if it gets dirty. Filter cartridge change is required once in every month. With no change of the filters, the carbon present in the interior of the filter cartridge can harm the health of the fishes. Changing it does not affect the biological filtration.
- Next comes replacing the water. Take equal quantity of fresh water equivalent to the dirty water that you took out from the aquarium. Treat the fresh water and the temperature and add it to the tank. If you have salt water fish in your aquarium then prepare the proper ratio of salt and water. The water should be the same temperature as the water already in the tank and is important to remove the chlorine and other additives. Leave the water for 48 hours and add de chlorinization solution to it. This will help in avoiding any harmful effect or stress on your fish.
Ongoing Maintenance
Once the cleaning process is done, ensure that you clean it regularly. This will not only ensure a clean aquarium but also decrease the time and amount of effort and helps in keeping the lives healthy. Clean the filter monthly and do the basic cleaning weekly. With proper attention and care, you can keep your aquarium clean and fresh and that too all the time.
Things to watch out for
- Use hand sanitizers (alcohol based) before putting in and removing hands from the aquarium.
- Use the discard water as watering your plants and lucky bamboo. Works as a good nutrient for the plants.
- Replace the carbon in your filter every two weeks.
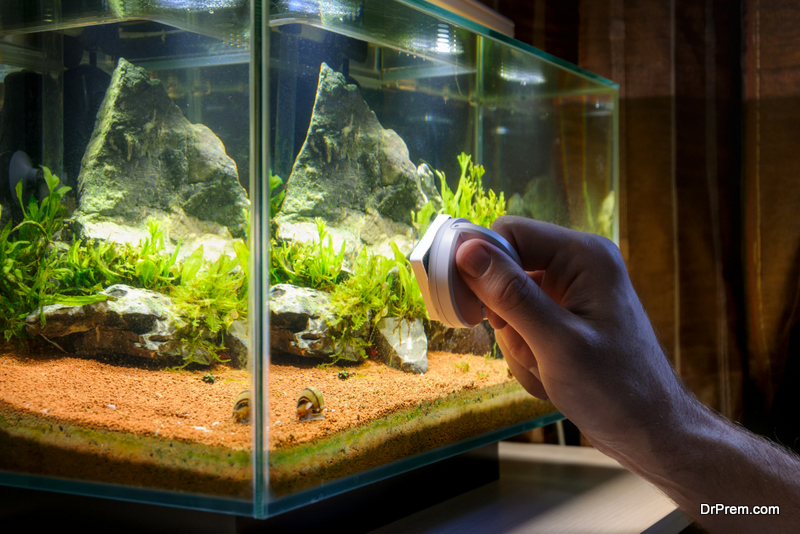
- Go for algae scrubbers that have a magnet in them. The movement of the scrubber can be done with the magnet from the outer surface of the glass. This helps in avoiding putting hands into the tank.
- Salt water fish tank are easy to maintain in comparison with a fresh water tank.
- Try creating a ‘zone of anaerobia’ in the tank.
- Use a thermometer to check the temperature of the water going into your tank.
- Disinfect your fish net and keep them clean and soft.
How to repair an old aquarium
 You have just chosen an old aquarium from a yard sale or someone have given you an aquarium or you just remembered your old aquarium in the attic or basement and a sudden urge to have some colored lively fish in your living room. Instead of changing for a new one from your pet center, you can repair it on your own saving a lot of money in return and a few extra knowledge of your fish tank. A brand new tank will be ready in just a few hours, if you are willing to undergo the process of cleaning and repairing it by giving some of your time. This is not a hard task and anyone can do with some patience and does not take much of your time. You can finish cleaning and repairing your aquarium in one free evening.
Materials required
The following are the materials required to make your old aquarium shine bright.
- Razor blade aquarium scraper.
- Vinegar/hot water and salt/lemon juice.
- Plastic scrubbing pad.
- Paper towels.
- Razor blade single edge.
- Silicone which are aquarium safe.
- Masking tape.
Instructions
Here are things you should do while cleaning your aquarium and make it easier for you in the process.
- Check seals of aquarium: Aquarium seals and glass panes are checked before using. Minor chips detected are filled with sealant. In short, aquarium is resealed before using.
- Thoroughly clean tank: Debris in glass panes are removed with razor blade aquarium scraper, silicone seals are cleaned with plastic scrubbing pads. Aquarium is cleaned with vinegar or lemon juice or hot water and salt to remove the stubborn algae and calcium clusters deposited.
- Check for leaks: Fill aquarium with water and check for leaks by drying outside of tank with paper towels. Leaks detected are sealed with silicone seals. Silicone seals are repaired as follows:
- The damaged silicone is cut with razor blade taking precaution not to cut into joints between two glass panes and removed.
- Strips of masking tape should be placed on both sides of aquarium’s interior edges.
- Silicone beads are placed along aquarium’s interior edges between strips of masking tape and set for 24 to 48 hours.
- Masking tape is removed from aquarium and tank is filled with water. Check for leaks and if detected start the whole process again.
- Test bulbs: Test bulbs are replaced, if needed. Use plant daylight bulb which is more cheaper than those at the pet shop. If the bulb does not turn on after replacing then check the starter.
- Test air pumps: Air pumps should be tested and if not working buy a new one or buy a repair kit for half the price of the pump. For aquarium with power filter, remove impeller for cleaning. Clean the slime and gunk off impeller magnets to improve the efficiency of the unit. If the impeller magnet is very dirty then soak in vinegar or lemon juice. Use same technique for cleaning power heads for filter units.
- Cleaning gravels: If your aquarium comes from a trusted source or has been successful in the past then no need to wash gravel as it may contain beneficial bacteria which helps to mature tank quickly. If your aquarium comes from a stranger or yard, then rise in hot water again and again.
Some commonly asked questions
- How to get rid of crusted salt in hood and aquarium?
Ans. To get rid of crusted salt in hood and aquarium, use vinegar because it is an excellent cleaner and your old aquarium can shine like new.
- Why does not light strip works after replacing?
Ans. If light strips does not work after replacing then check your starter.
- Can I use plastic scrubber from any store?
Ans. Plastic scrubber from store may contain chemicals harmful to the fish. Use scrubber available at pet stores.
- Can silicone meant for bathrooms be used in aquariums?
Ans. Silicone meant for bathrooms contains additives which are deadly for fish. Use GE brand clear silicone only. Though costly, it adheres better and dries stronger than cheaper ones.
Some tips
- For aquariums from yard, ask them to fill tank in there lawn so that you are sure it does not leak and explode in your house.
- Seal tanks properly.
- Fix pumps and filtration materials with household plumbing materials.
- Try fitting things together by yourself. If you fail, take help from internet.
- Take time to choose, do not buy the first one you saw.
- Buy chemicals free silicone only.
Things to watch out for
- Proper care should be taken while working with razor blades.
- The sealant used should be aquarium safe as it could contain chemicals toxic for fish.
- Protect aquarium from other pets in the house.
- Do not buy silicone labeled for bathroom, as it contains additives deadly for fish.