The aromas coming out of the kitchen are pleasant and sometimes not so pleasant, if you inadvertently happen to burn something. Or some foods smell too much even if they are healthy for you, such as garlic, turnips and so on. To get the odors as well as steam out of the kitchen, the kitchen chimney is your best bet. You can either buy a chimney, which is often quite expensive, you can make one yourself with the help of this DIY kitchen chimney tutorial. Also, read on to find out how you can make a fireplace chimney too.
How to make your own DIY kitchen chimney
If woodworking is your hobby, then this project will be quite easy for you.
What you need:
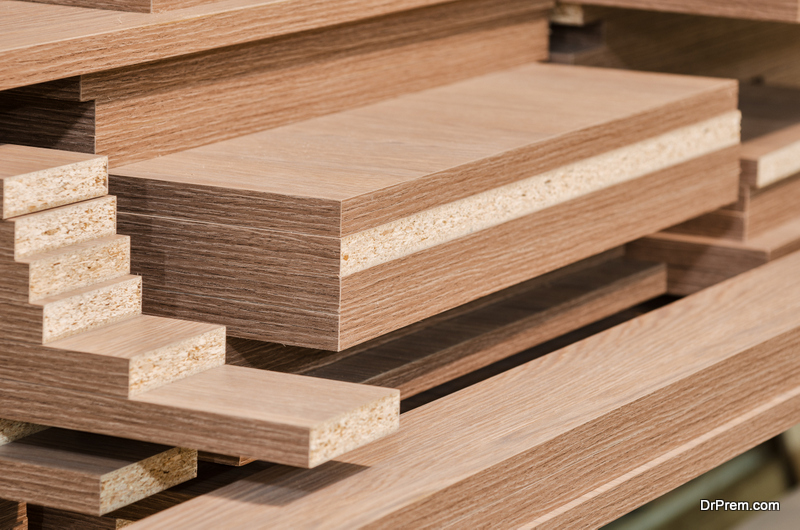 For the frame of the chimney, you would require plywood, MDF board or thin plywood, cherry wood or some other wood which looks good, wire mesh, screws, air duct, varnish and wood glue, extractor hood.
If you don’t have an extractor hood, you can use LED downlights, suction fans, speed controller for the motor, wires as well as switches to make this work. Extractor hoods are difficult to find, but they reduce your work considerably as they have the motor, switch and lights.
Make a drawing
Before you proceed on making the kitchen chimney, you must make a drawing of your model. It does not have to very artistic, but it will help you measuring the various parts and in putting them together.
Building the kitchen chimney
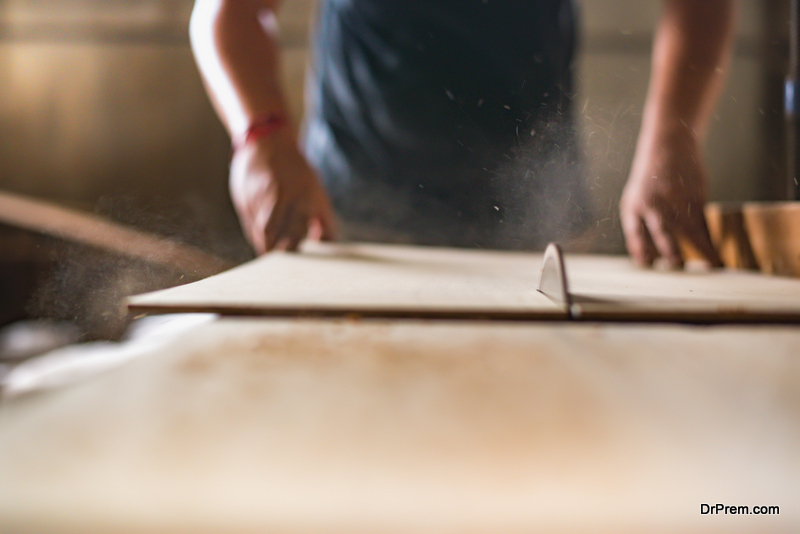 Cut the 2 cm thicker plywood into pieces 3 cm wide. A miter saw can be used to cut the plywood lengthwise. Then make the frame with these pieces. Cover the frame with the MDF board. Adding the MDF and then the cherry wood strips, helps the cherry wood last longer. Continue according to your plan, and add the motor, switches, wire mesh and lights. There would be a lot of sawdust flying around so do wear a respirator to protect yourself.
Veneer the cherry wood and the stick and nail them to the frame. If you use brass nails the look would be handcrafted and beautiful.Sand the surfaces then add a boat lacquer or water based lacquer. This brings out the beautiful texture of the cherry wood.
After you fix the motor as well as the pipe connector, add some silicone to make it airtight. Adding a carbon activated filter would keep the chimney clean of grease. Put all the parts together, make the electrical connections and your DIY chimney is ready.
Things to consider before a self-made fireplace chimney
1. Consult construction codes before you design
Two of the general requirements are that chimneys should be at least 90 centimeters or 3 feet taller than the highest point at which it emerges from the roof. It should be at 2 feet or 60 cm taller than the height of the adjacent buildings within 10 feet or 3 meters in the vicinity of the chimney. The taller your chimney is, the better it will draft.
Most codes specify that the chimney must have a 2 inches or 5 cm clearance from any combustible material, if it is built through or in the house walls and 1 inch or 2.5 cm clearance if it built alongside your home.
2. Choose the material
Masonry or brick are usually preferred by homeowners, but prefabricated metal ones are available too. If you want to opt for the brick chimney, then you have to measure and figure out the number of bricks you have to order. For prefab metal chimneys, the distance from the stove and the location from where it is going out of the house has to be determined.
For self made fireplace chimney or masonry chimneys, you must have walls which are at least 4 inches thickness. The bricks therefore have to be in this thickness.
3. Calculate the waste product
 Determining the waste products which will be vented out will determine if the chimney can vent many appliances or if it will be able to vent only one. You can build chimneys for two similar operations, for example a gas stove or gas furnace. Individual chimneys should not be angled more than 30 degrees off the vertical.
The flues should also not change in size or shape within 6 inches or 15 cms below or above a ceiling, floor or roof constructed from combustible materials.
4. Determine width of the flue
The kitchen stove’s width or other appliance’s width usually determines the width of the flue. Masonry chimneys have square/rectangular flues and metal chimneys have round flues. You should line the masonry chimneys with ceramic or clay tile flue, going up the center of the chimney, with gap between the inside flue and outside brick. Concrete or stainless steel pipe can be used if you want.
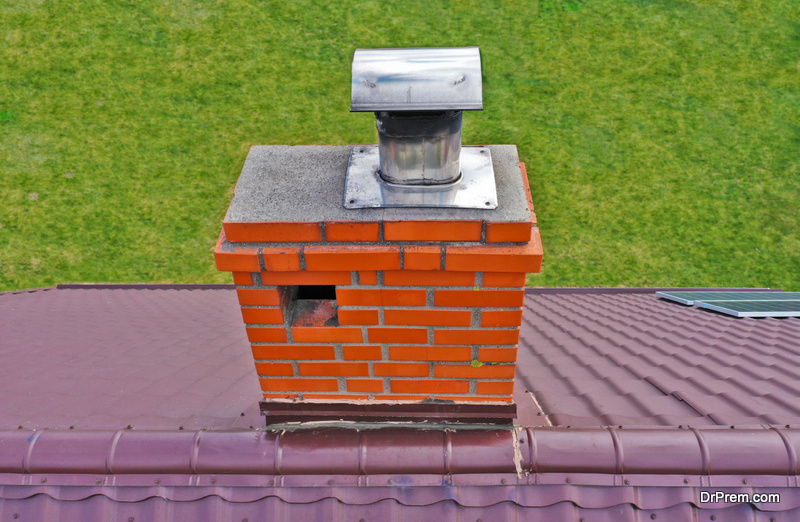
How to build a chimney for the kitchen
Installing a metal chimney
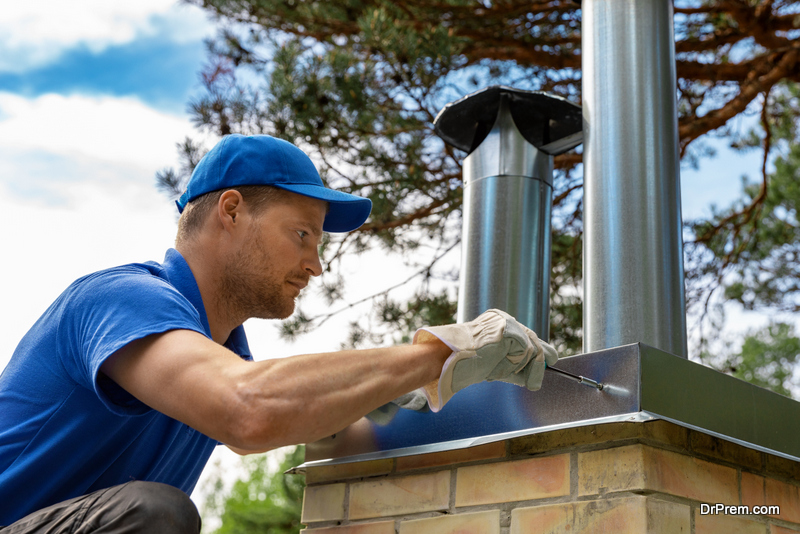 To install a metal chimney, you will require a prefab chimney box, flashing, chimney cap, prefab chimney section and chimney roof braces. While passing through the ceiling or wall, you have to use a part of the wall which is rated as pass-through so that the roof or wall ever catches fire.
Things required for masonry chimney
To build a chimney,you will need brick, masonry, support pieces like rebar, mortar, flashing, chimney cap and masonry tools.
Building smoke chamber
The chimney has to be built from the bottom and upwards. This means that you have to build the chimney from the fireplace’s top or appliance’s top. Mix the mortar with water, so that the consistency is that of peanut butter. Using a mason’s trowel, load the mortar onto the bricks before setting them in place. Make sure that the mortar oozes out a little bit, to ensure that the bricks are filled completely with mortar.
Make sure all the bricks are level on all sides, horizontal and vertical, using a level. The chimney should be on a very solid foundation. If there is no existing base or fireplace, you might have to pour reinforced concrete for chimney to be built on. Consult the local code to know what the specification should be.
Construct the outside and flue
In the process of chimney construction, the outside part and the flue is constructed first, the flue will connect the top of the smoke chamber to roof through the chimney’s middle part. Liners or ceramic tiles are installed within.
Install the flashing
The flashing has to be installed on twosides of the chimney – one where the chimney meets the roof and secondly, as lining under the chimney cap. Use waterproof silicone or polyurethane caulk under the flashing so that water does not leak inside the house.
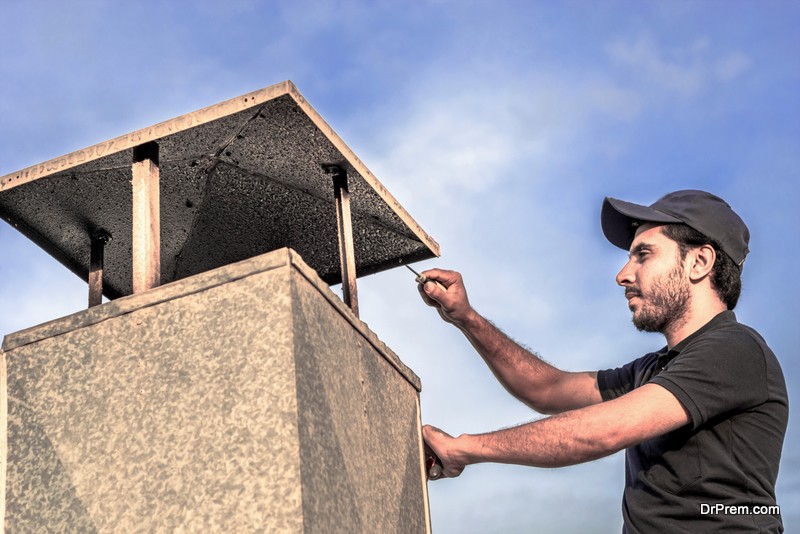
Capping the chimney
Capping the chimney is an important part ofchimney construction.The cap will prevent any moisture, leaves and animals from entering the chimney. It will prevent soot and debris from flying out of your chimney. The cap is set over the top of the brick flue, extending the chimney wall by 2 inches at least and also have drip edge. This drip edge will channel any water away from your chimney. The chimney cap materials are usually stone or concrete.
These are basic ideas to construct a chimney on your own. You will have to measure and build the chimney according to your requirements. For best results, we suggest you take a look at some of the designer chimneys out there.