Ever wondered how painters manage to get the most striking and intricate of patterns on the walls? Intrigued as to how they manage to paint these patterns without making any mistakes whatsoever? Well you will be surprised to know that all it would take for you to replicate these patterns in your home is some paint, some painter’s tape and some patience (a lot more actually). Here’s how you do it!
Why use Painter’s Tape
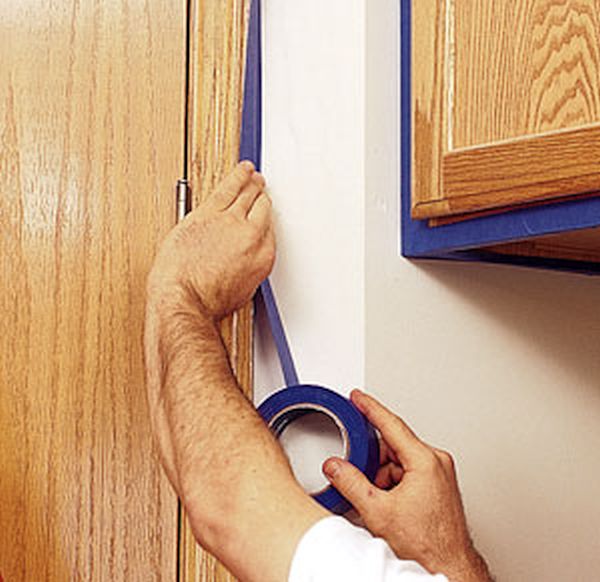
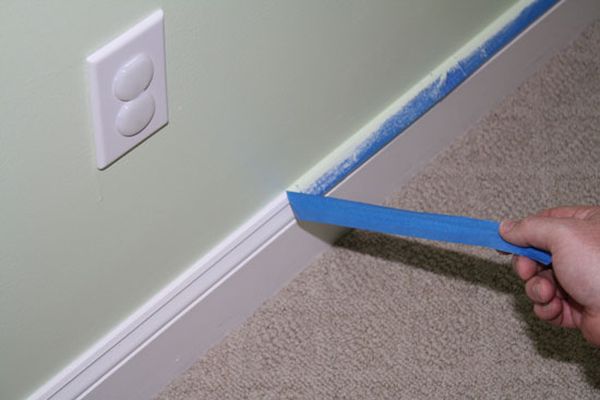
Before we start with the steps, let’s take a quick look as to why we would need to use painter’s tape for these designs? Painter’s tape is considered as the best and easiest way to get crisp, clean and clear edges when painting.
You can use the tape to mask baseboards, moldings, trims and practically any other area you don’t want the paint splashing on. This way, you can paint with ease and simply pull off the tape afterwards. Painter’s tape also comes in handy when you want to paint specific patterns on the walls. So ensure that you have plenty of this tape ready when the time comes to paint your wall.
Paint Designs you can try out with Painter’s Tape
Here are a few easy DIY paint designs you can accomplish easily using painter’s tape and good quality oil or acrylic based paint.
Horizontal Stripes
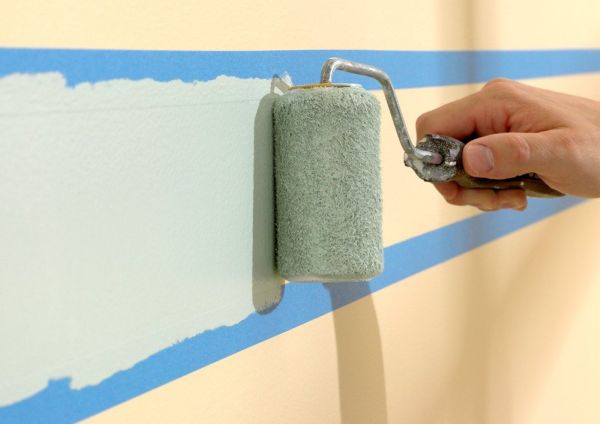
Painting horizontal stripes on the walls can be an easy task provided you use painter’s tape to avoid wiggly lines, fuzzy edges, smears and spillovers. In most cases, you would need to opt for stripes between 4 and 12 inches wide.
Anything smaller than 4 inches will look too narrow while anything bigger than 12 inches will look too heavy. While choosing the same width stripes for the wall will offer a pleasing look, you can opt for multi-width stripes for a more creative effect.
Cover the wall with a base coat of paint. Now cut out the painter’s tape in the size you prefer. Stick it horizontally from one end of the wall to the other, making sure you follow a straight line. Leave some space (the same space as the width of the tape) and stick the second tape parallel to the first. Cover the entire wall from floor to ceiling this way and cover it with another paint color. Wait for the top coat to dry and gently peel out the tape to show the base color in these areas. Voila! Your horizontal stripes are ready.
Chevrons aka Zig Zags
![]()
A zig zag pattern would lend a dramatic effect to the entire wall. Cut out a square or rectangular piece of stiff paper (you can use a box as well) about 6 inches wide. Place it on the wall from one corner in a diagonal manner (facing upwards) and trace out the shape with a chalk piece. Now start from where the trace ends and create another diagonal trace (facing downwards this time). Follow this pattern for the entire wall. Stick the tape to the outlines and paint within these lines. Wait for the paint to dry and remove the tape.
Checkerboard
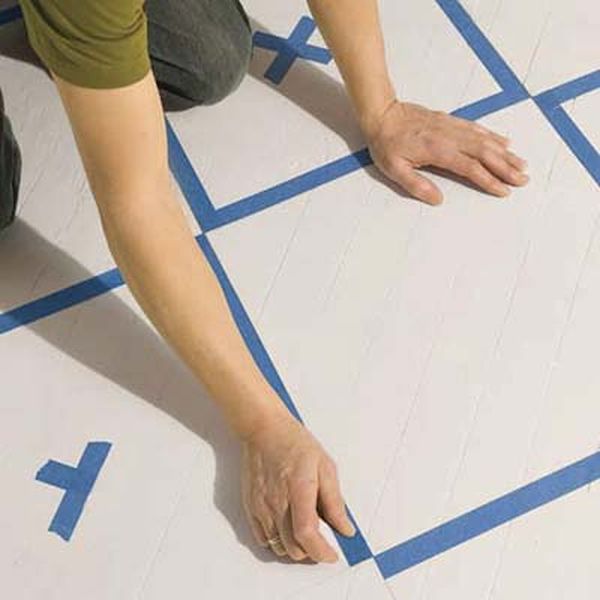
This pattern is easy to achieve provided you have the patience to make the markings correctly. Divide the entire stretch of the wall into squares of the size you wish to paint. Use a pencil to draw a faint trace of the squares. Paste the painter’s tape along the edges of every other square in the grid, making sure you stick the tape right outside the trace line. Paint the space inside the tape and wait for it to dry. Remove the tape afterwards to remove a beautiful checkerboard pattern on the wall.
Multiple Layers
You can achieve a beautiful multi-layered look with the help of painter’s tape as well. Trace out the design or patter you want on the base coat using chalk and stick the tape along the edges. Fill out the inner area with the color of your choice. Wait for the paint to dry completely. Now trace out another design over the first one and follow the same principle to create a multi-layered design that will look absolutely stunning.
Diamonds
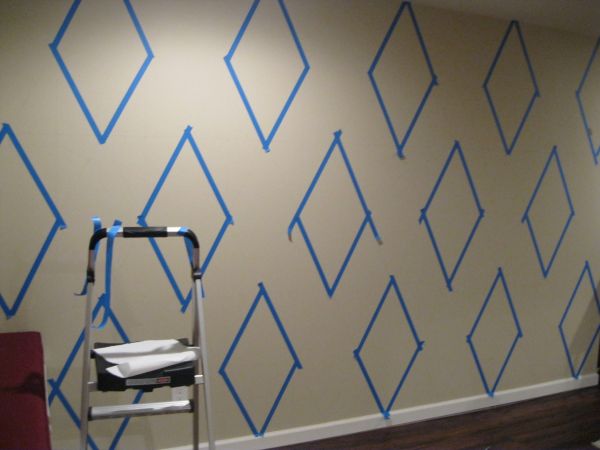
Painting a diamond pattern on the wall can be a bit time consuming when compared to the other methods. However, the end result is well worth the time and effort you put into the project. First cover the wall with a base coat of the desired color. Next, measure and cut out thin stripes of the tape which you can then stick to the wall in a diagonal manner to form the shape of a diamond. Paint the entire wall with another color of your choice and wait for it to dry. Now simply peel away the tape to reveal the diamond pattern beneath.
Using painter tapes, you can create several creative and interesting paint designs on the walls in your home. These designs will make the rooms stand out for sure.