The house you build for yourself is always special. It is the place where you settle your tired bones and surely you always go all out to ensure that is all perfectly built. So in this regard the drywall construction should be on your priority list. It has been a fairly long time now that this has replaced the general plastering and lath. This is not only cheap to use but is also something that you can really upon and also something that you can do yourself without professional help.
To further help your cause we decided to come up with this article to help you learn to install drywall like a pro. We will tell you all about the methods and even the tools required for this purpose.
Things to know to install drywall
- Tools required:
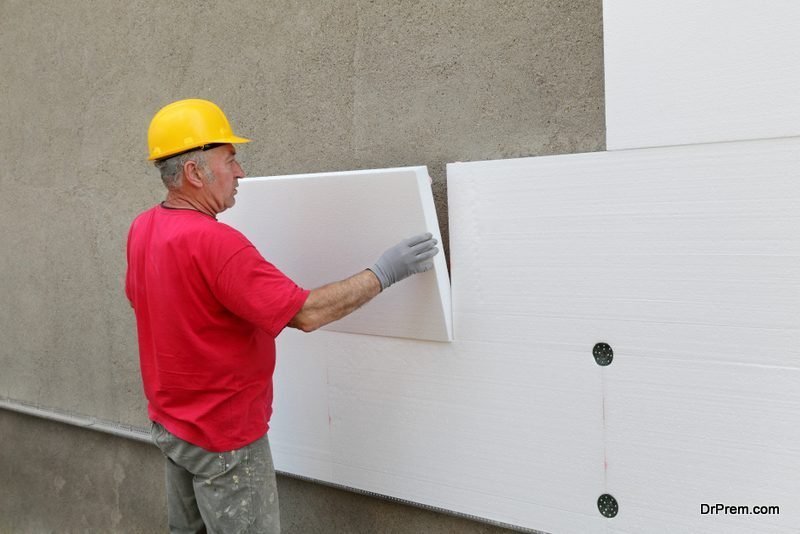
Although it is easy to set up and you can surely have a finely set drywall at your house, some tools are going to come in very handy and you cannot do without these. You would need a drywall trowels or lightweight knives. If you are someone who is just starting out on this process, we recommend that you get the latter for yourself. A paper tape or a self adhesive mesh tape will also come in handy in the process of your installation. - The types of drywall: Usually you would find drywalls in 4*8 and 4*12 sizes and it all depends on the size of your house what you would be applying. Also there are some general codes with drywalls that you need to be accustomed to. If you are up for framing spans of sixteen inches or less than that then half inch would suffice. If it is about spans of up to 24 inches in the ceiling then you may have to opt for five-eighth inch of material. If the purpose is to make it water resistant because of it being located in a humid region then again half inch is what you would need.
- Get the measurements right:
Before you are all set to install drywall, it is important that you get the measurements right. Measure properly so that the end result is not a miscalculated mess and you are able to hang the best possible drywall for yourself. - Set out properly: It is quite a task to get the drywall material delivered to you. However the best is if you can arrange to have it delivered to your place and the drywall in the concerned room with the finished side facing towards you. Then it will be easier to install drywall and to do all the necessary cutting and shredding to get it in shape. As a part of the beginner’s guide this is something you cannot afford to get wrong.
- A drywall lift will seem like a gift:
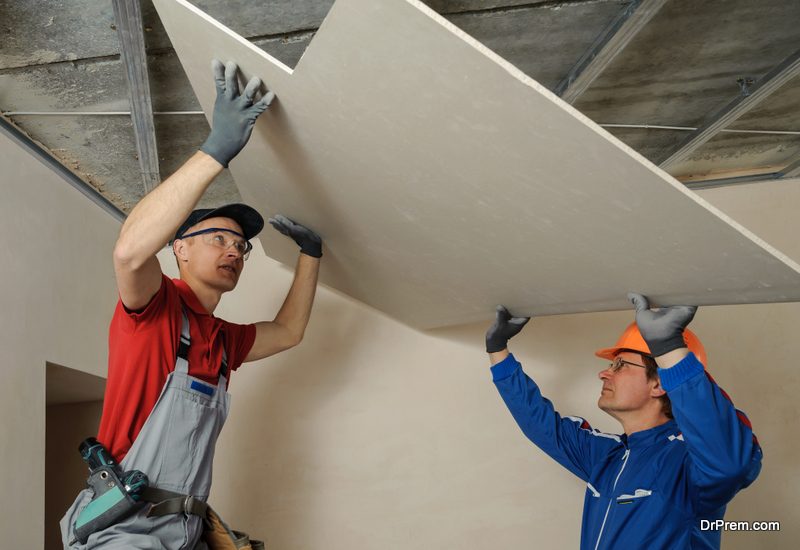
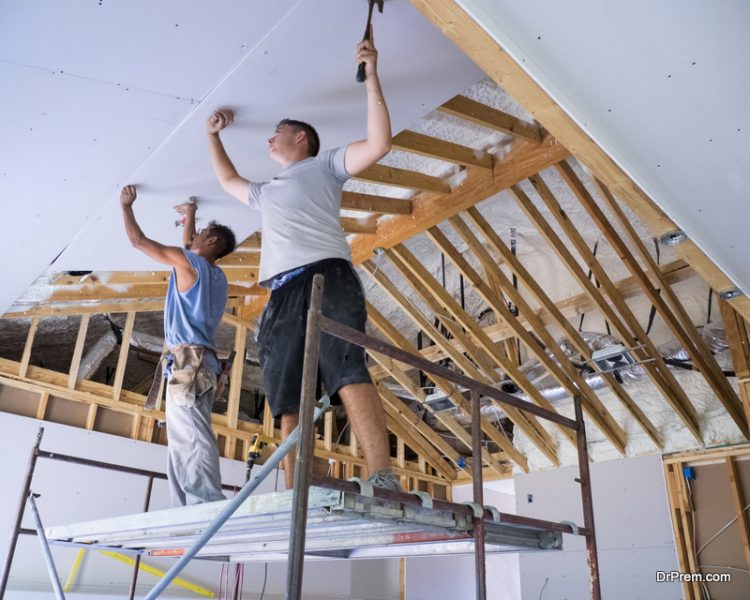
It does not matter whether you are not strong enough to all the hauling yourself. There is an actual thing like a drywall lift. To get the job done a lot easier you can always rent this for a day. It will be very effective to hang drywall the best way you possibly can. If you are someone short or you are dealing with the twelve inch equipment this will be the best help you can possibly get to install drywall. - Tack sheets for the strength: At this stage you need to put up the ceiling sheets such that they are neatly folded and affixed and granted the status of the stable foundation of the building. Tack it to the joists and ensure the stability in your work that you rightly seek. You can always start off with the ceiling because if the trend is to be believed, this is the professional choice as well. The wall drywall is usually after you have it hanging from ceiling but it has the ability to support the wall constructions later.
- Lever the drywall such that it is in place:
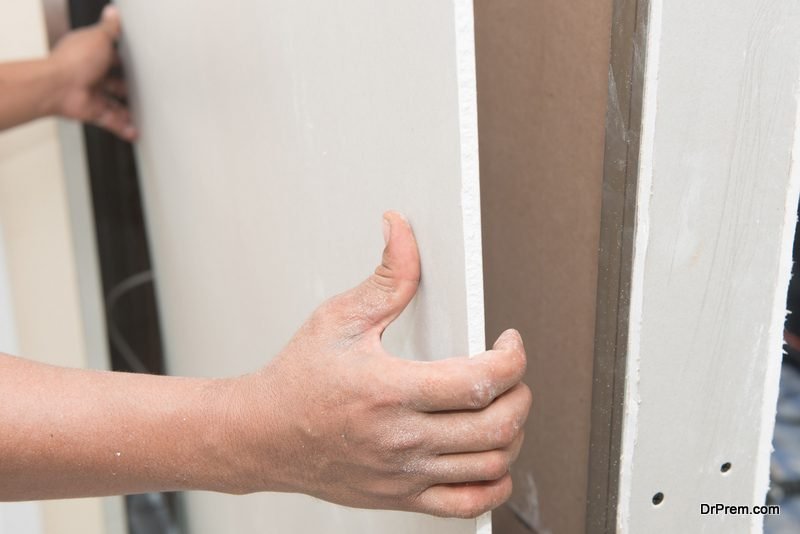
The bottom row here needs to be hoisted a bit to get the thing tacked into place. In case you are in need of some minor adjustments there always is a way out. Use the knife to scrape off some parts for the smooth and hassle free functioning of the drywall you set up. To fasten things just perfectly you need to use five fasteners to be applied on every such structure. - Putty knife: This is once you are done with the process. To finish things off you can use the putty knife to determine any defects. In case there is one you can always use this putty knife to look for the click sound. If you find one, you have one error to fix which can be simply averted by using the adhesives properly.
- Do not use hammers:
It might look tempting enough to use one and get done with it. But you should not be using hammers in this regard because there is a fair bit of a chance to get something broken. If it by any chance breaks a screw then instead of having to install drywall, you will actually end up with a bigger hole that needs some serious patching. - Final tips for drywall work: It is always a great idea to not go for cost cutting waiting for the scarps and instead pick a full sheet to do the work. Make sure that the tapered edges are joined with the tapered edges only. The coats and even the Finishing seam are ideal to make the entire process a success. A lot of things have to be taken care of but these simple ones should be enough to work this out just fine.
Final words
We hope that this beginner’s guide has proved to be helpful. Following these simple steps you can go ahead creating and setting up your own drywall without the professional services. You will learn to hang the best of drywalls if you give these ideas a try. We wish you luck in your attempts.